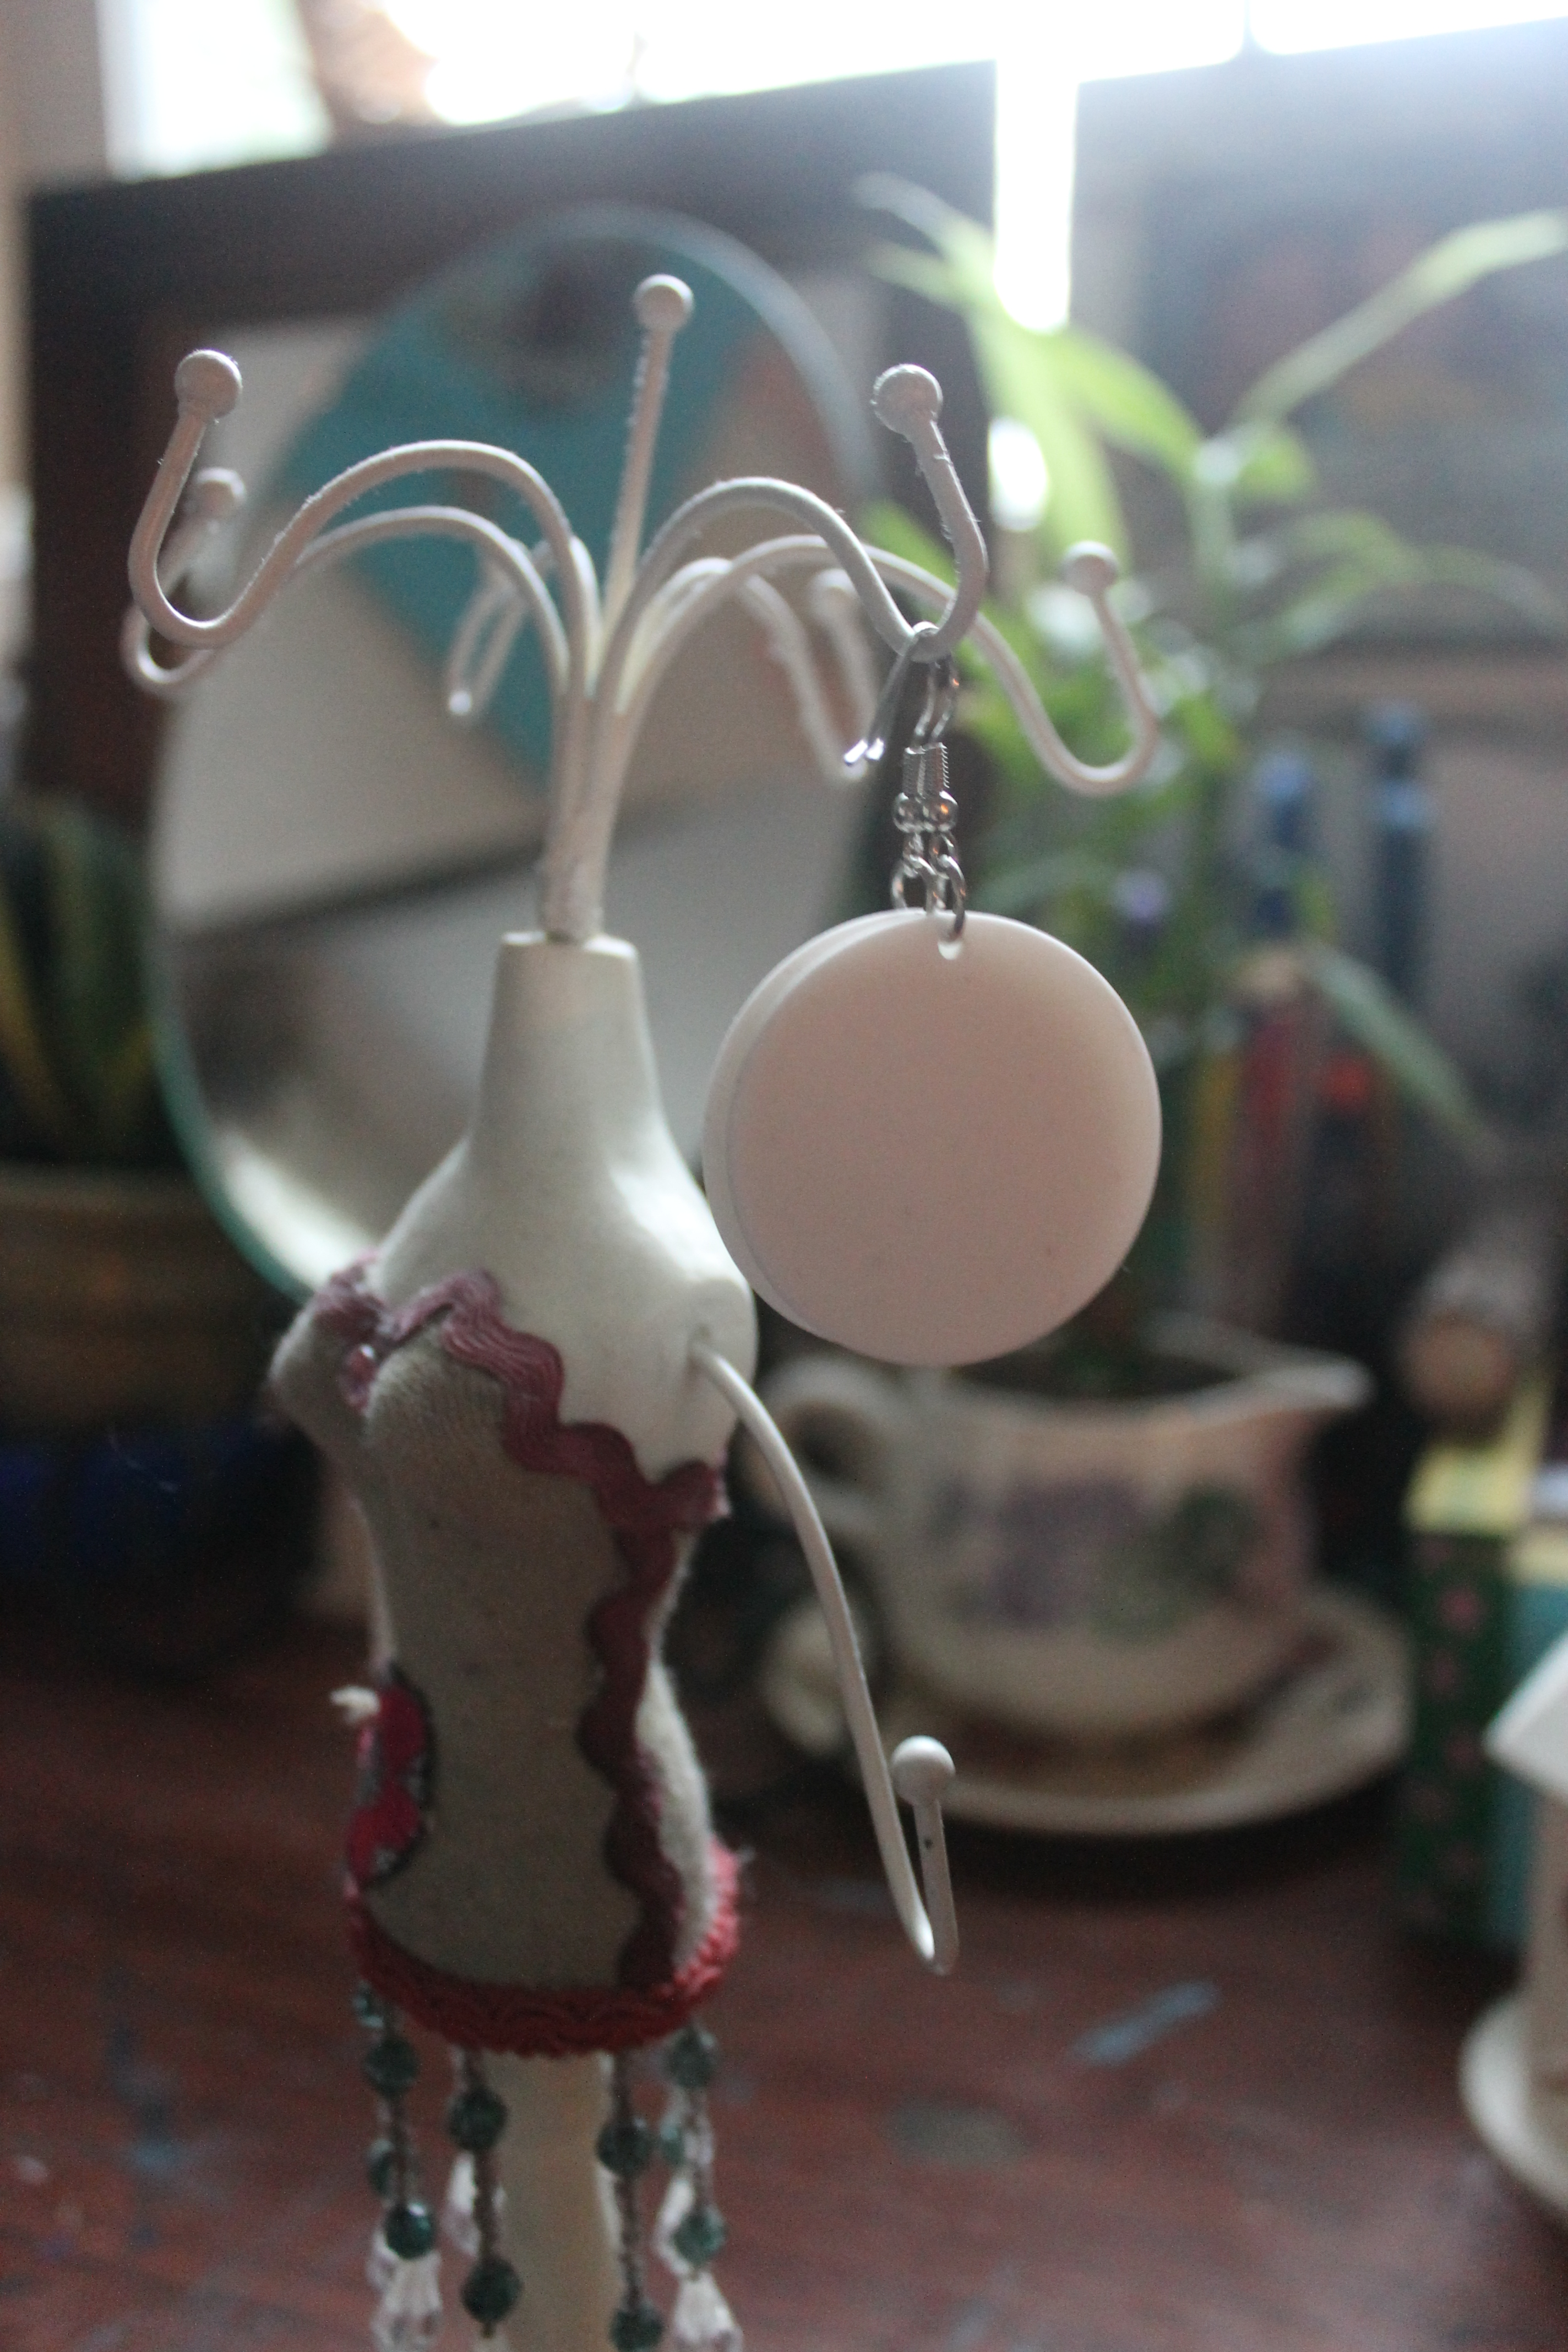
This is just a small post about the earrings San wears.
I found white round pendants at the craft store that were just perfect for Sans earrings.
The pendants already had the holes in them so all I had to do was put the earring thing part on. I also added a small wire ring between the pendant and the earring part. And that’s it!
I used navy knit fabric for the dress and a simple off white pillow case for the top shirt.
I used a tank top as a pattern for the top of the dress then just fanned out the skirt part starting at the waist.
I cut the front and back pieces on the fold to you will want to fold the tank top in half then trace it onto the fabric. Matching the folded side of the tank top to the folded side of the fabric. Starting from the waist I started to go out to form the skirt of the dress. the dress stops right above my knees but it could be shorter if you want it too. Cut the front and back pieces out, making sure that the fabric stretch goes cross wise otherwise the dress will not fit.
I added pockets to my dress because I plan on wearing this to a con and I wanted somewhere to keep my phone and such things. I used this tutorial to add the pockets.
The only thing left to do is sew everything together!
And it is finished!
Now for the over shirt!
all I did was chop up an off white pillow case, it really was just cutting little bits off at a time. I put it on my dress form and that help a lot to see what needed to be taken off and where.
I’m going to add ribbons to the shoulder parts of the fur cape to tie onto the dress because the weight of the necklace is not enough to keep the fur from slipping down and the fang necklace choking me.
I am really excited to wear this and hopefully it will work out that I can go to the con and wear this.
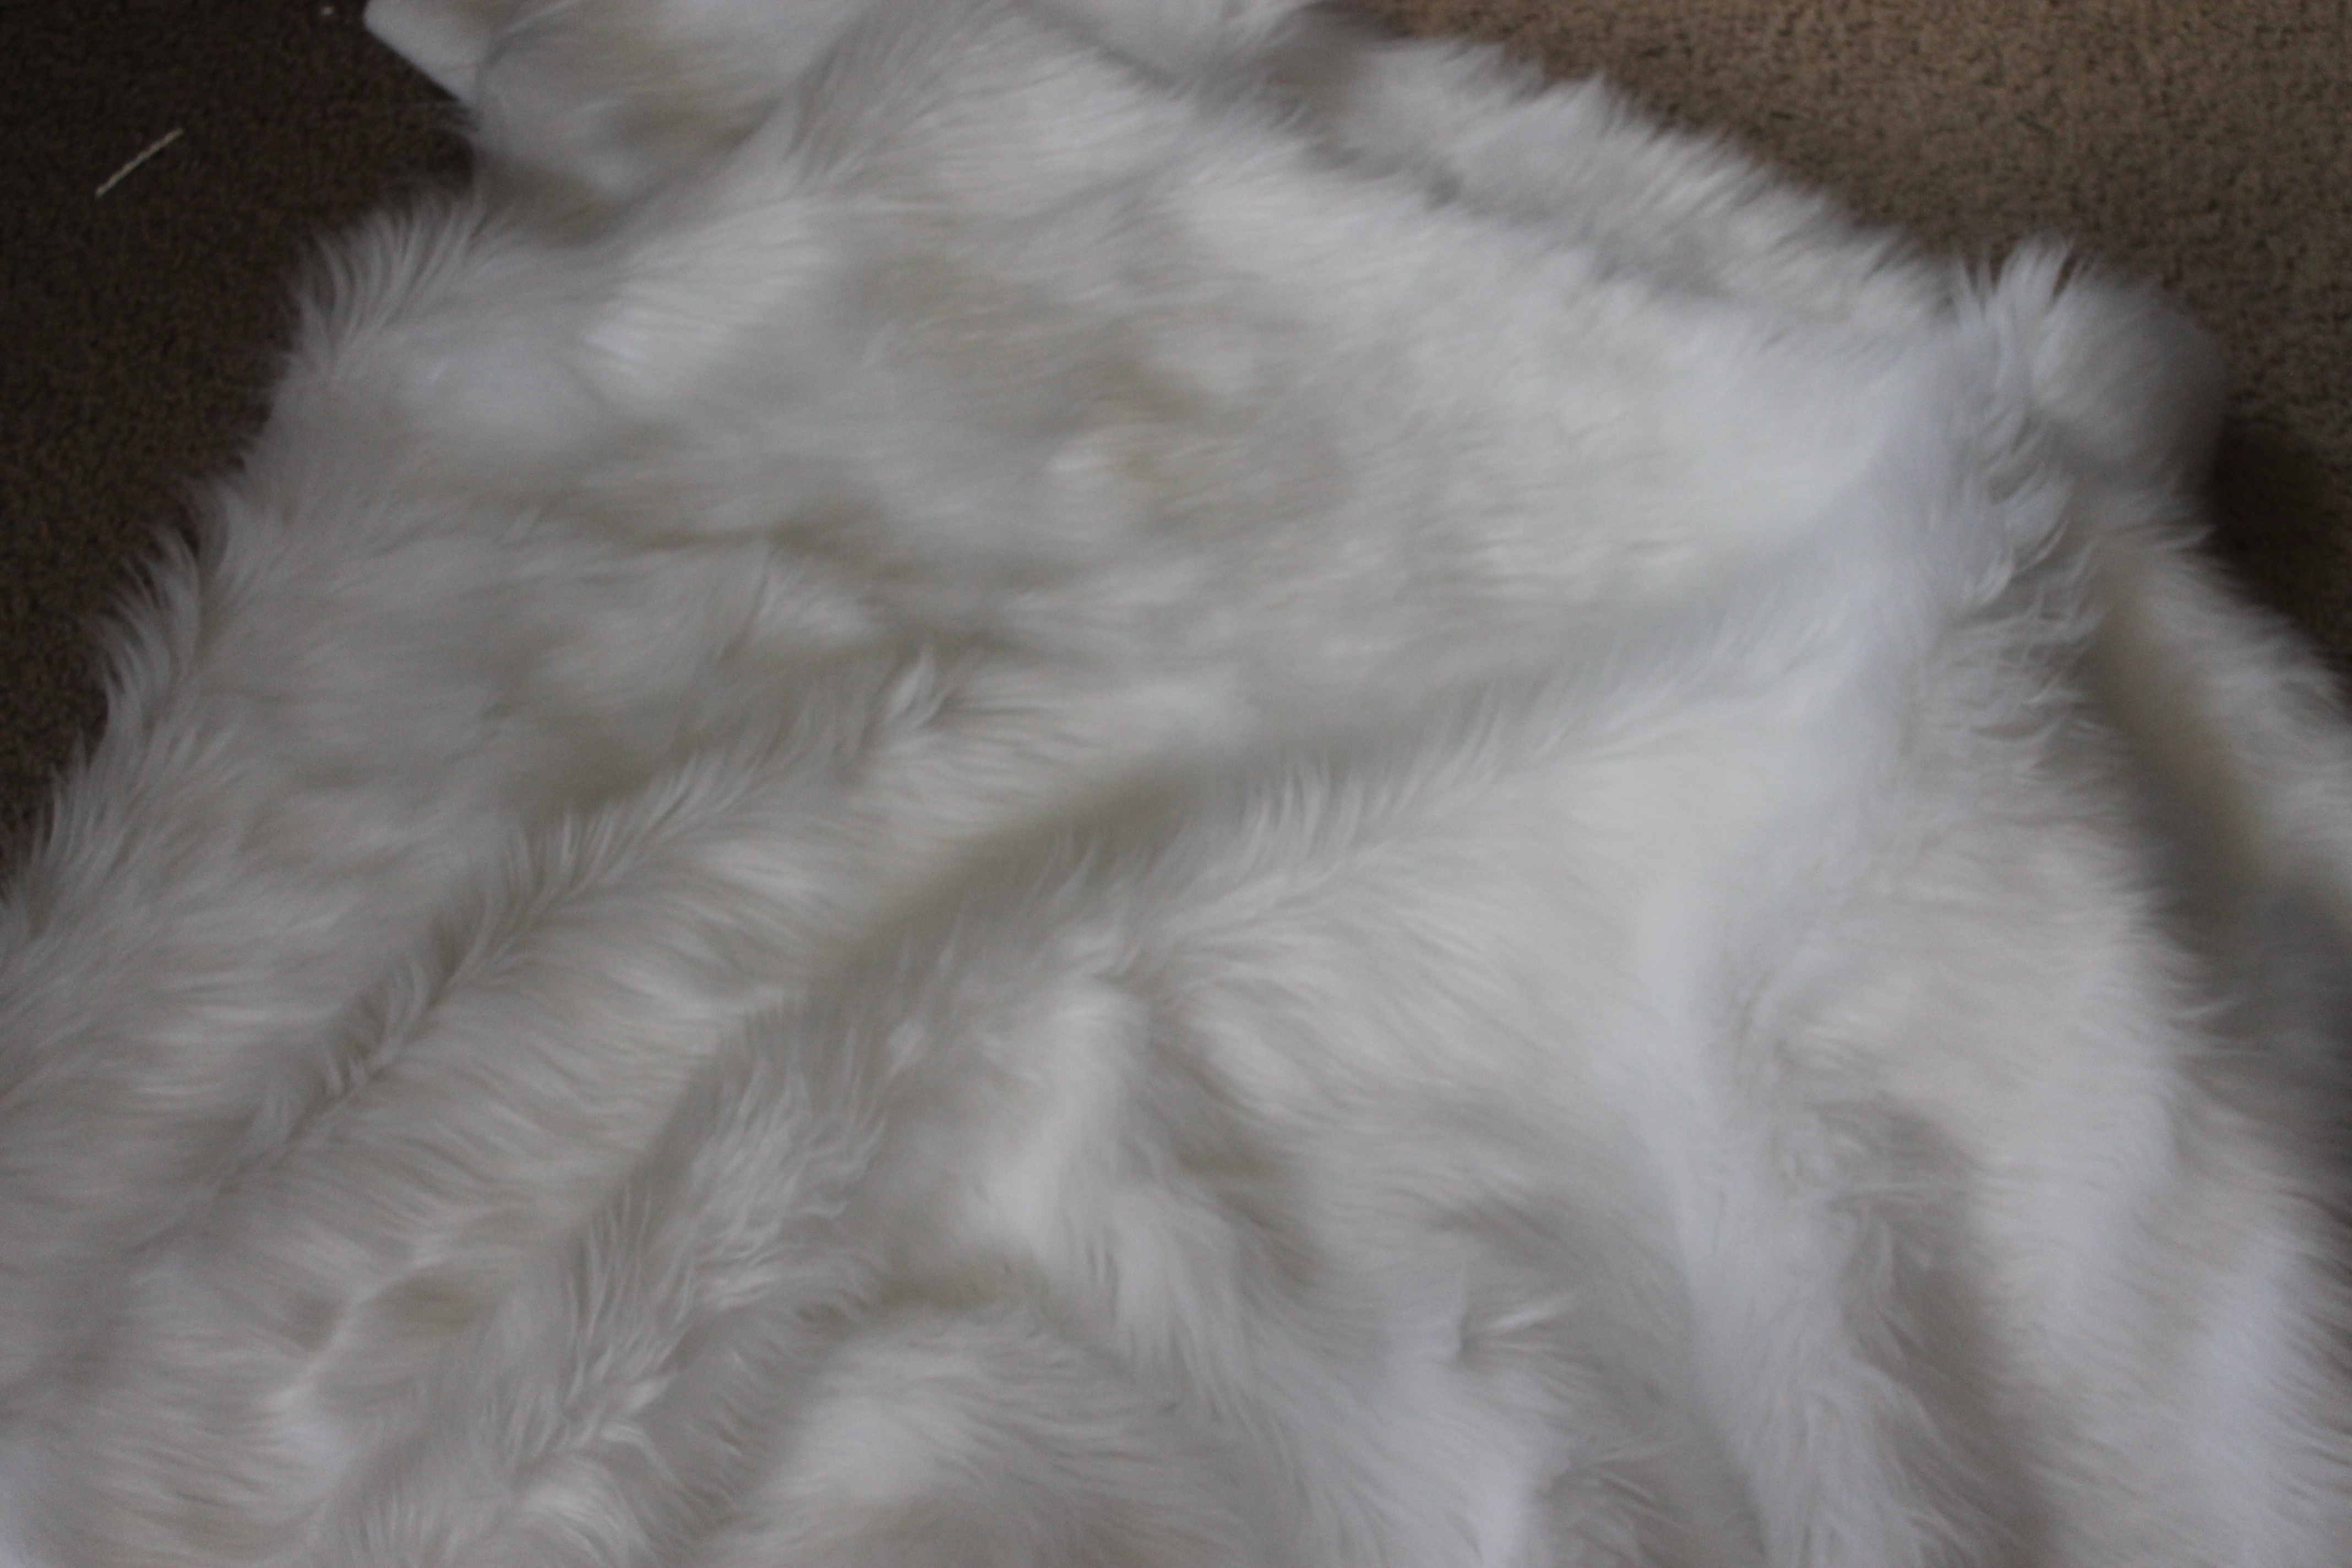
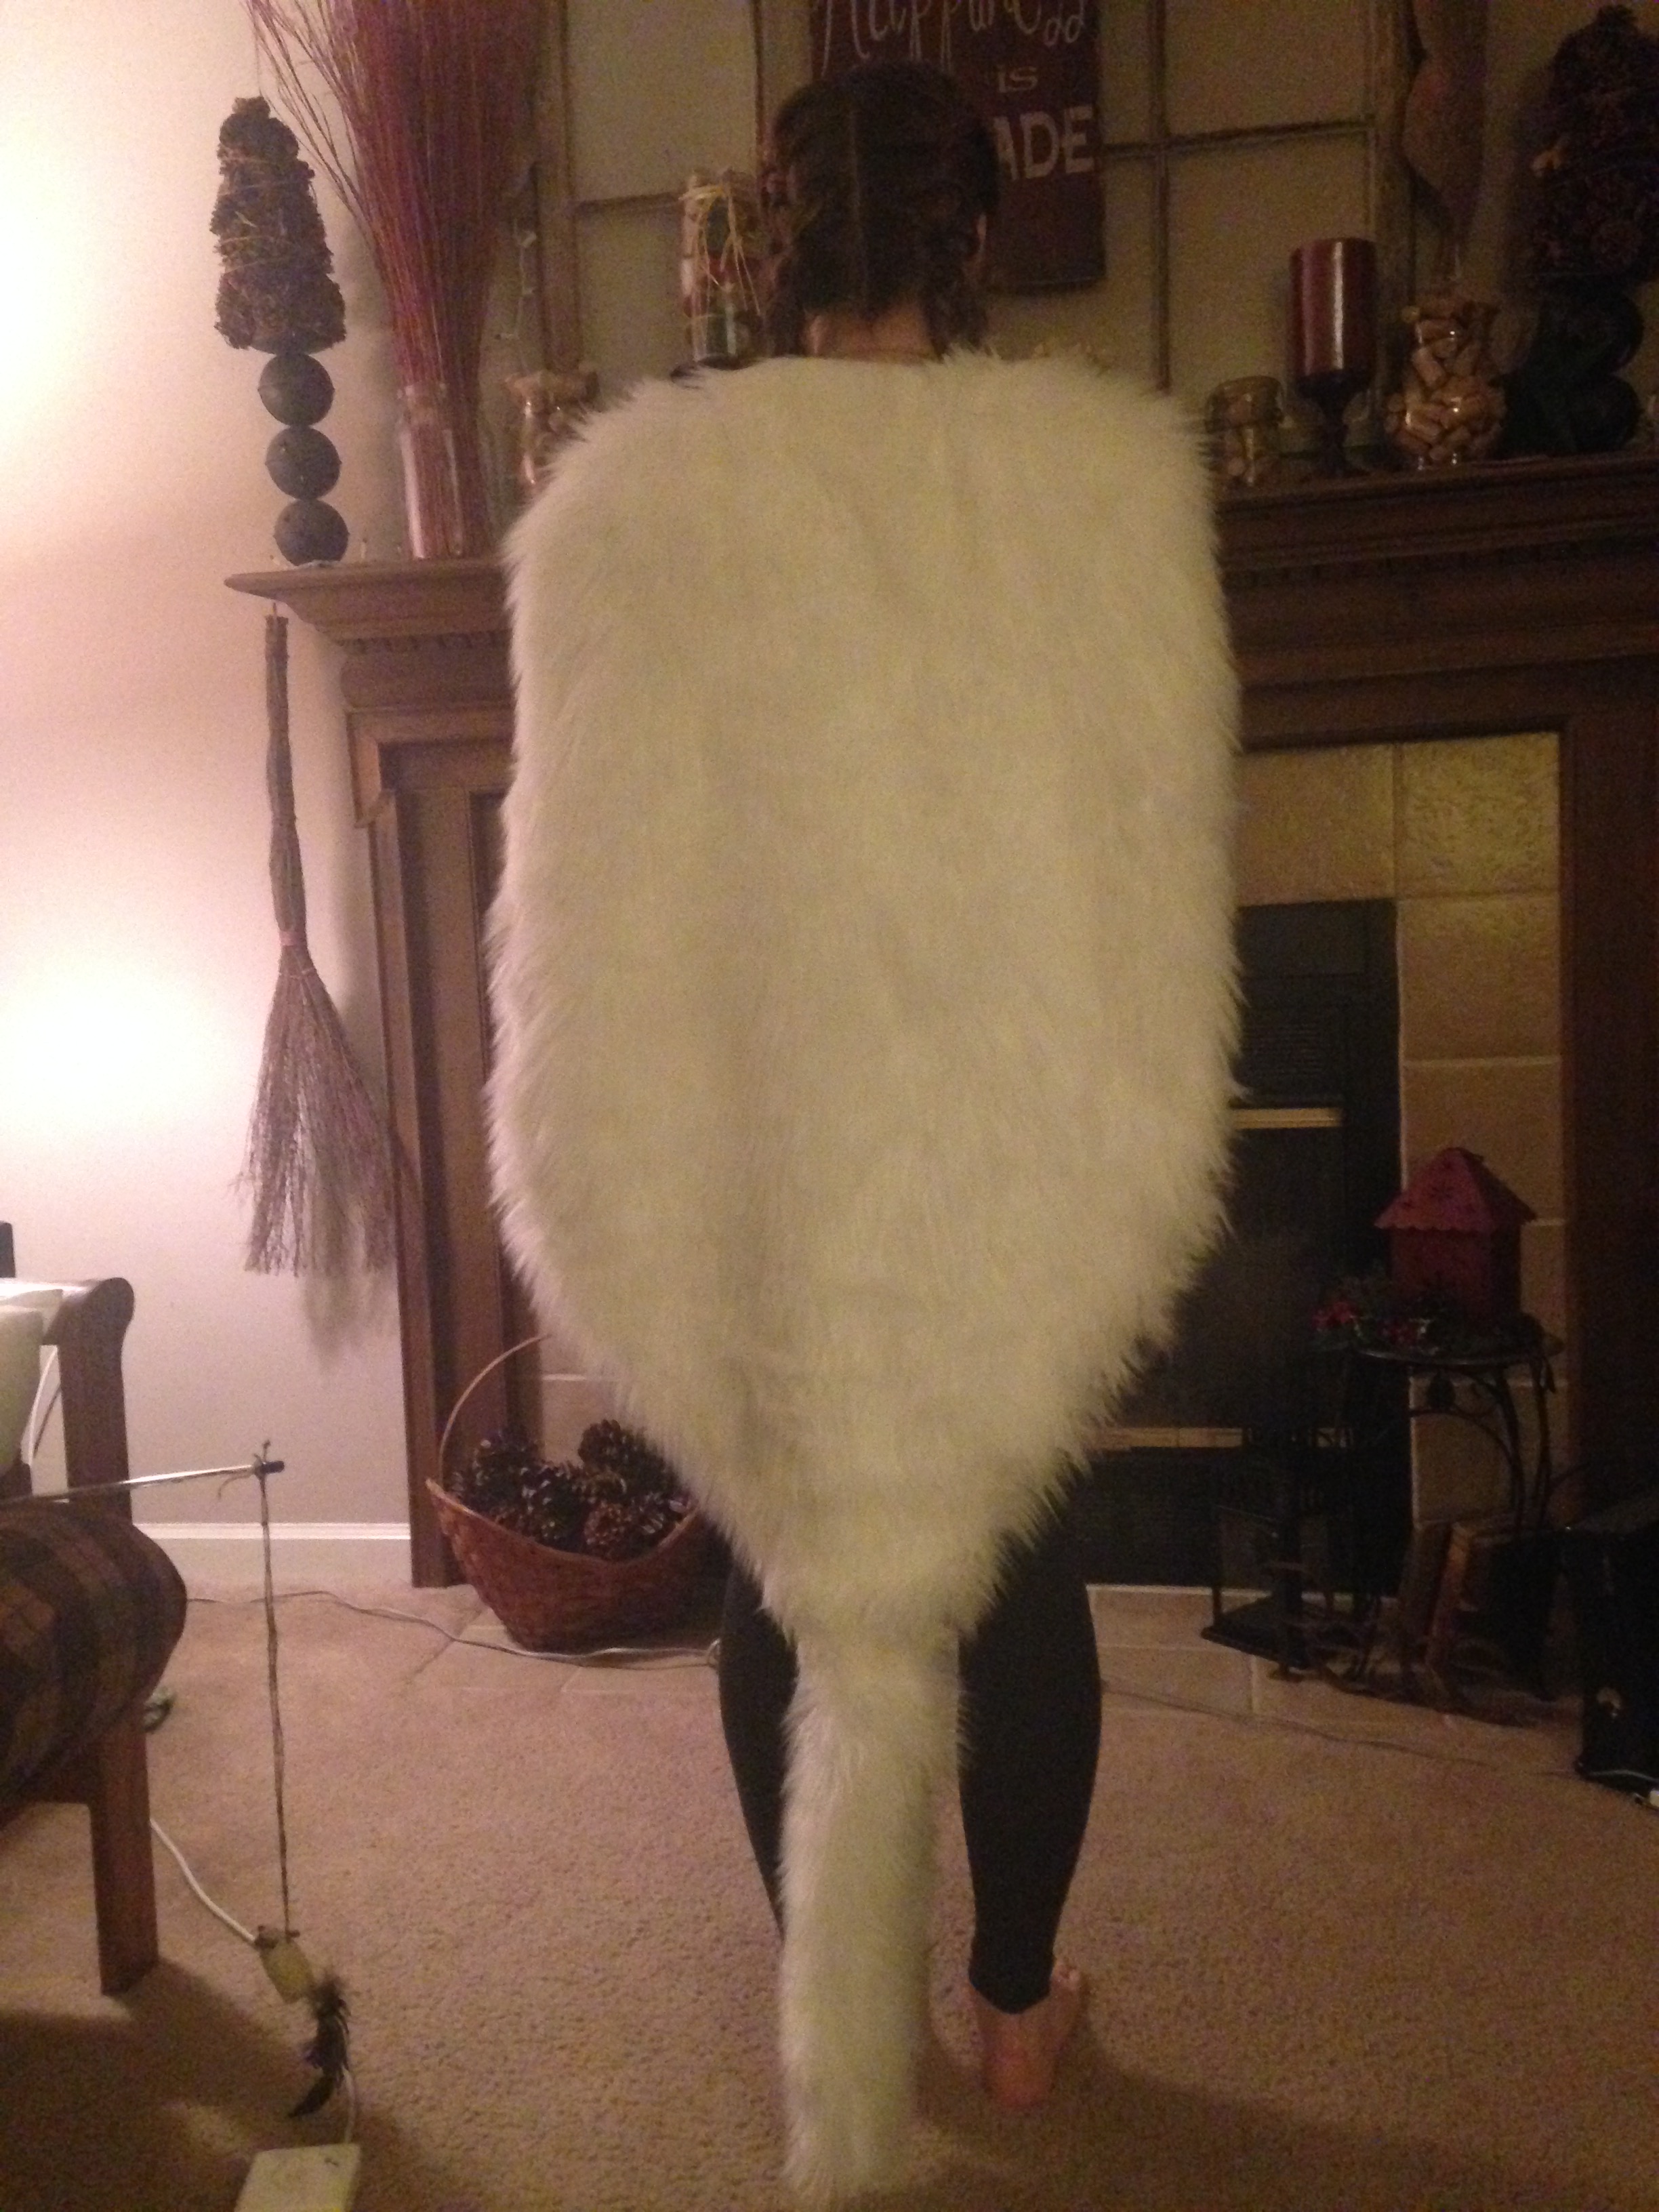
I used a yard of white faux fur to make my cape, I ordered it from Amazon.com but if you have a fabric store that sells long pile fur buy it from there.
My cape comes down to about my knees (not including the little tail thing).
Draw out the pattern onto the wrong side of the fur. If I ever make this again I’d make the shoulder things narrower and shorter, but I suggest making them larger then you think they should be because its easier to cut away fabric then to add it.
Because I wasn’t satisfied with how just one layer of fur looked I cut another piece out that was the same size as the first one. I sewed those two pieces right sides together, I hand-stitched all of this but I think a sewing machine would be just fine.
I left the top part not stitched along with the small section at the bottom, this is wear the little tail will be attached. After sewing everything together turn it right side out and make sure all the fur along the seams looks nice and fluffy and non of it is caught in the stitches.
For the little tail that goes on the bottom of the cape I cut out a rectangle that was twice the width of the narrowest part of the large cape piece. then i folded it in half and sewed along the edge, wrong sides together. On the bottom edge I cut it to a point so it wasn’t just a rectangle of fabric dangling there. To attach it I sew it into the small hole that was left at the bottom of the larger section of the cape.
I attached the fang necklace to the shoulder parts of the cape, I did this but sewing the embroidery floss that I used to string the necklace into the fabric on the shoulders.
Next on the list of things to make for this San costume…..
THE DRESS YAY!
Hopefully I will be posting about that in the next couple of days!
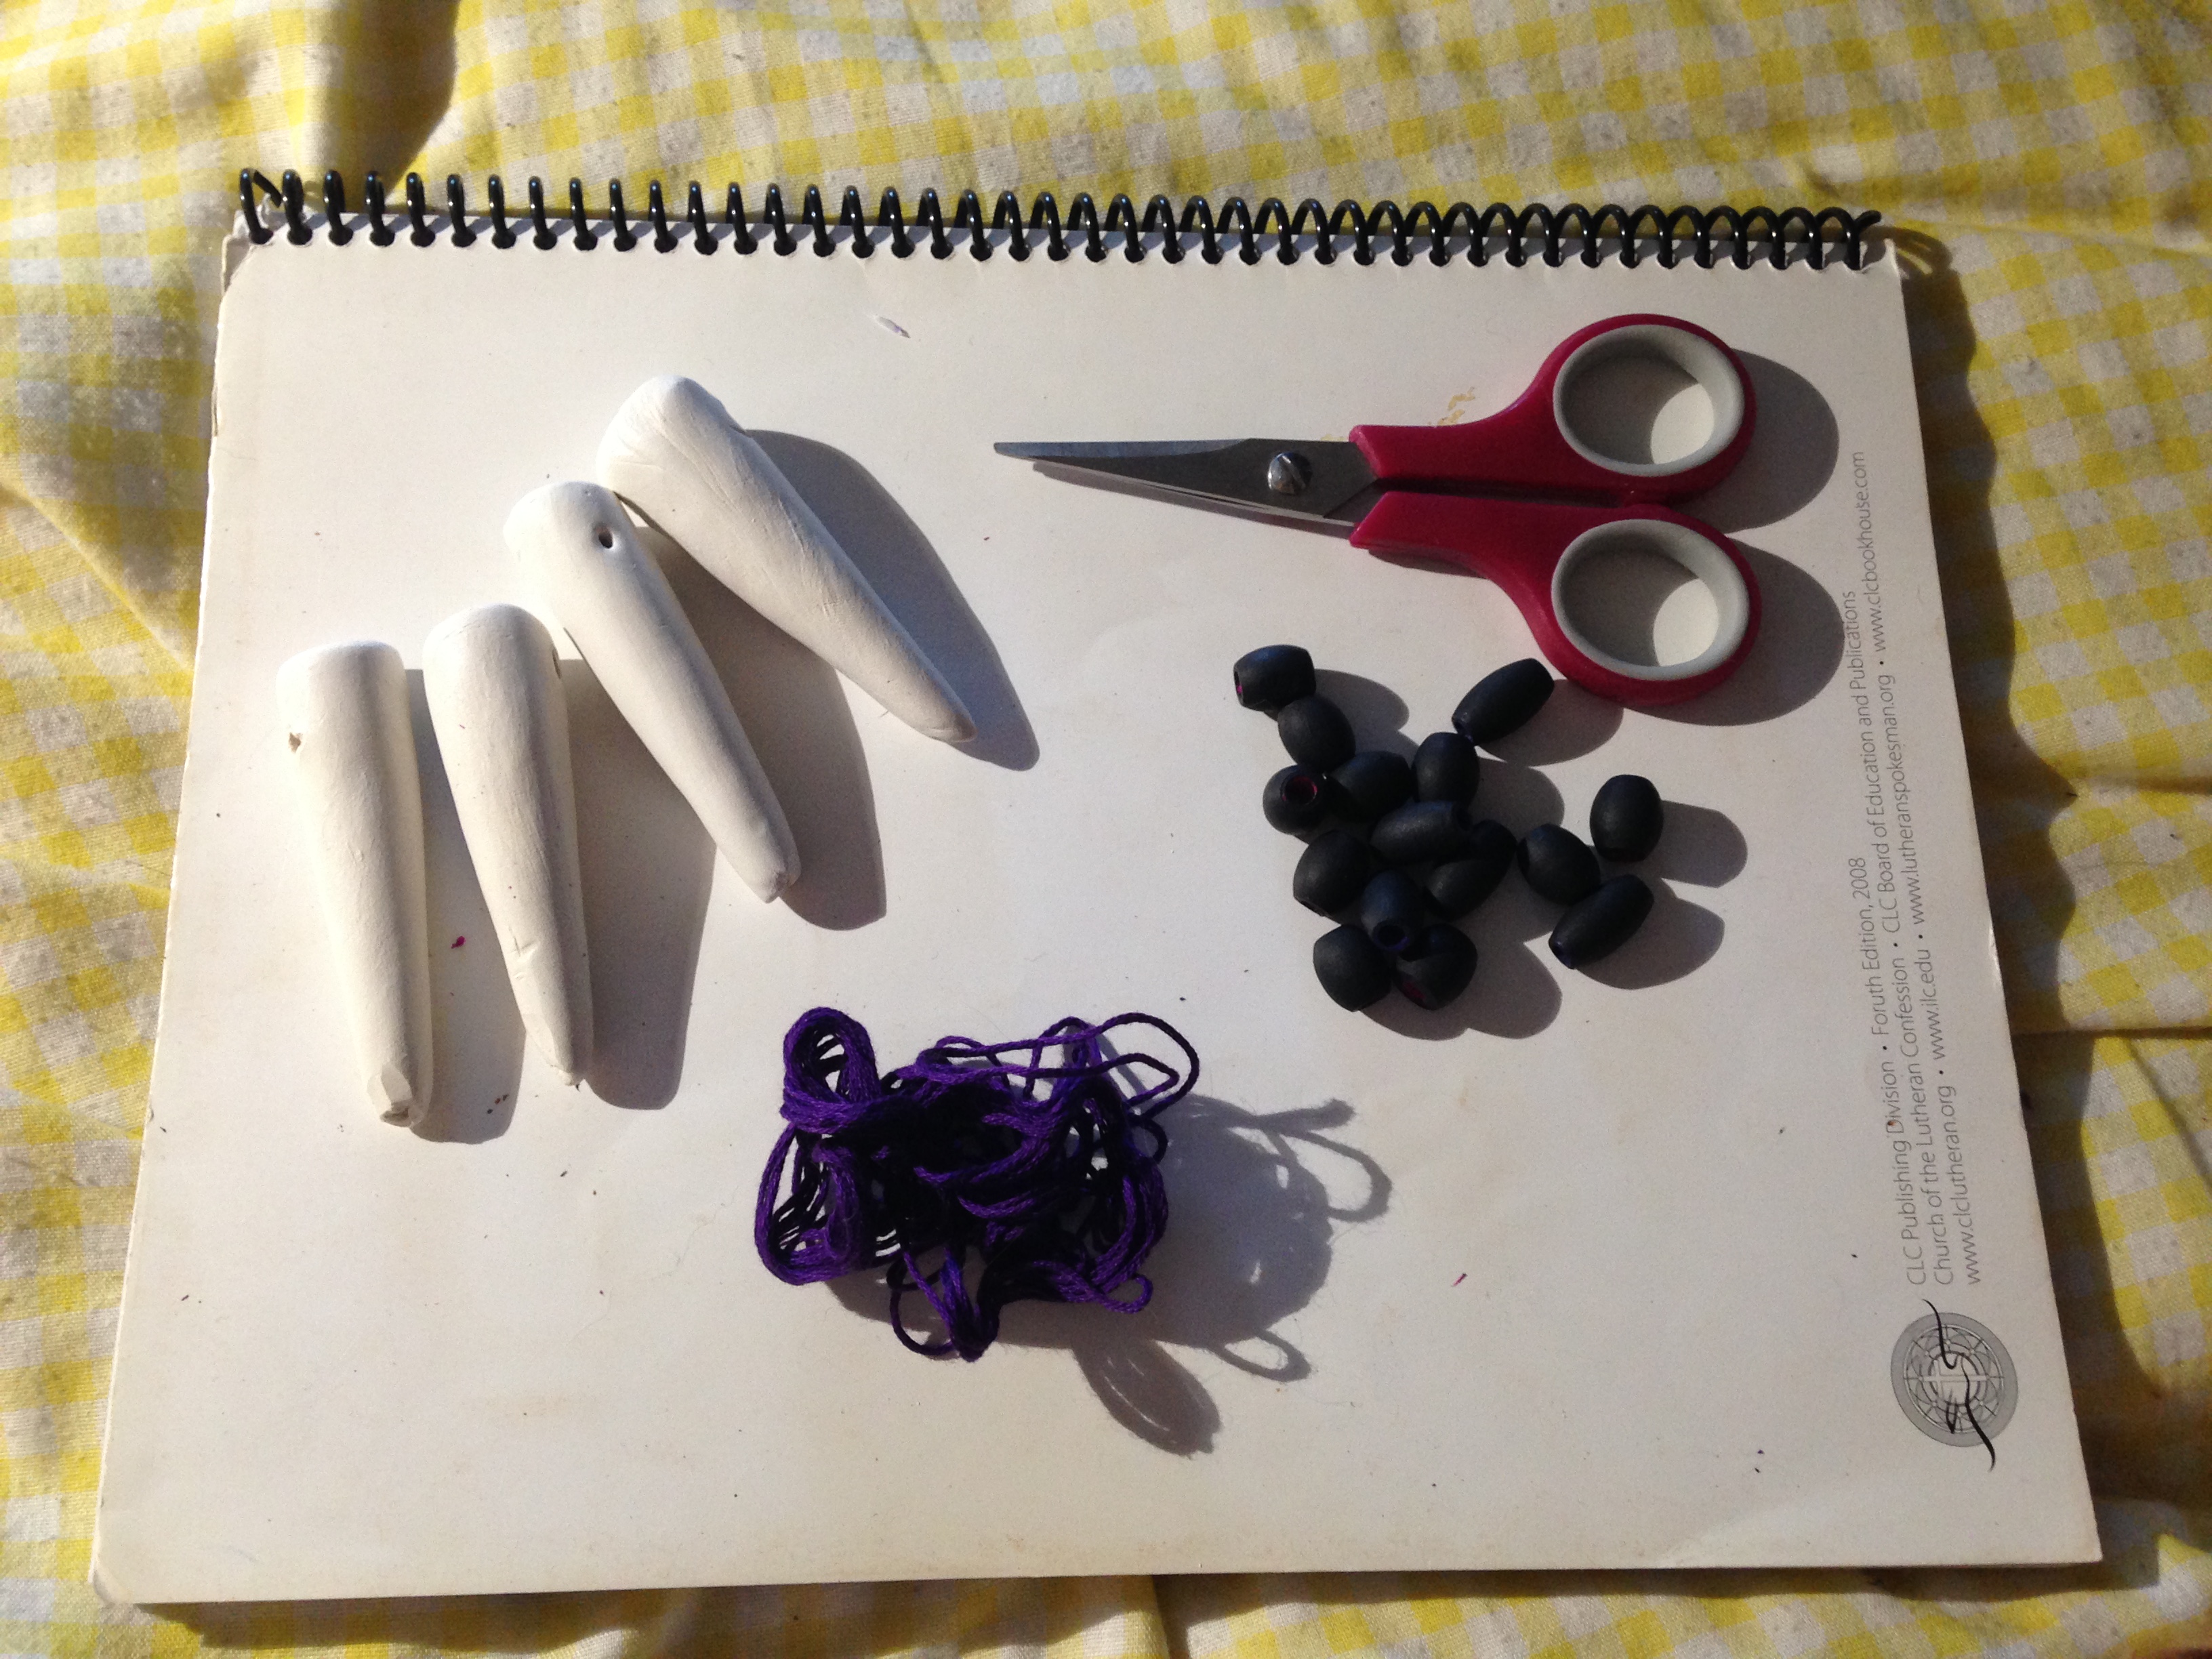
I used a thicker wire to make holes in the top of the fangs to thread them onto the necklace.
My holes were on the smaller side and if I were to do this again I would make them bigger…
After the clay is completely dried, or if you used oven baked clay (which is fine) gather together all your beads and whatever thread you want to use, I was going to use a thicker black cord but the holes in the fangs were not large enough so I ended up using dark purple embroidery floss. Note that whatever you use I plan on attaching the necklace to the fur cape so there is no need to add a clasp or to tie the thread together at the ends. For the beads that go in between the fangs if you have long beads those would be great, I just had shorter ones so I added round beads on either end of the short longer one…
This is what it looked like all strung on!
Next I hope to do either the blue dress or the fur cape, we’ll see!
For the next week or so my project is to make a San from Studie Ghibli’s “Princess Mononoke” cosplay. So my blog posts will be the process of that.
This post is making her armbands.
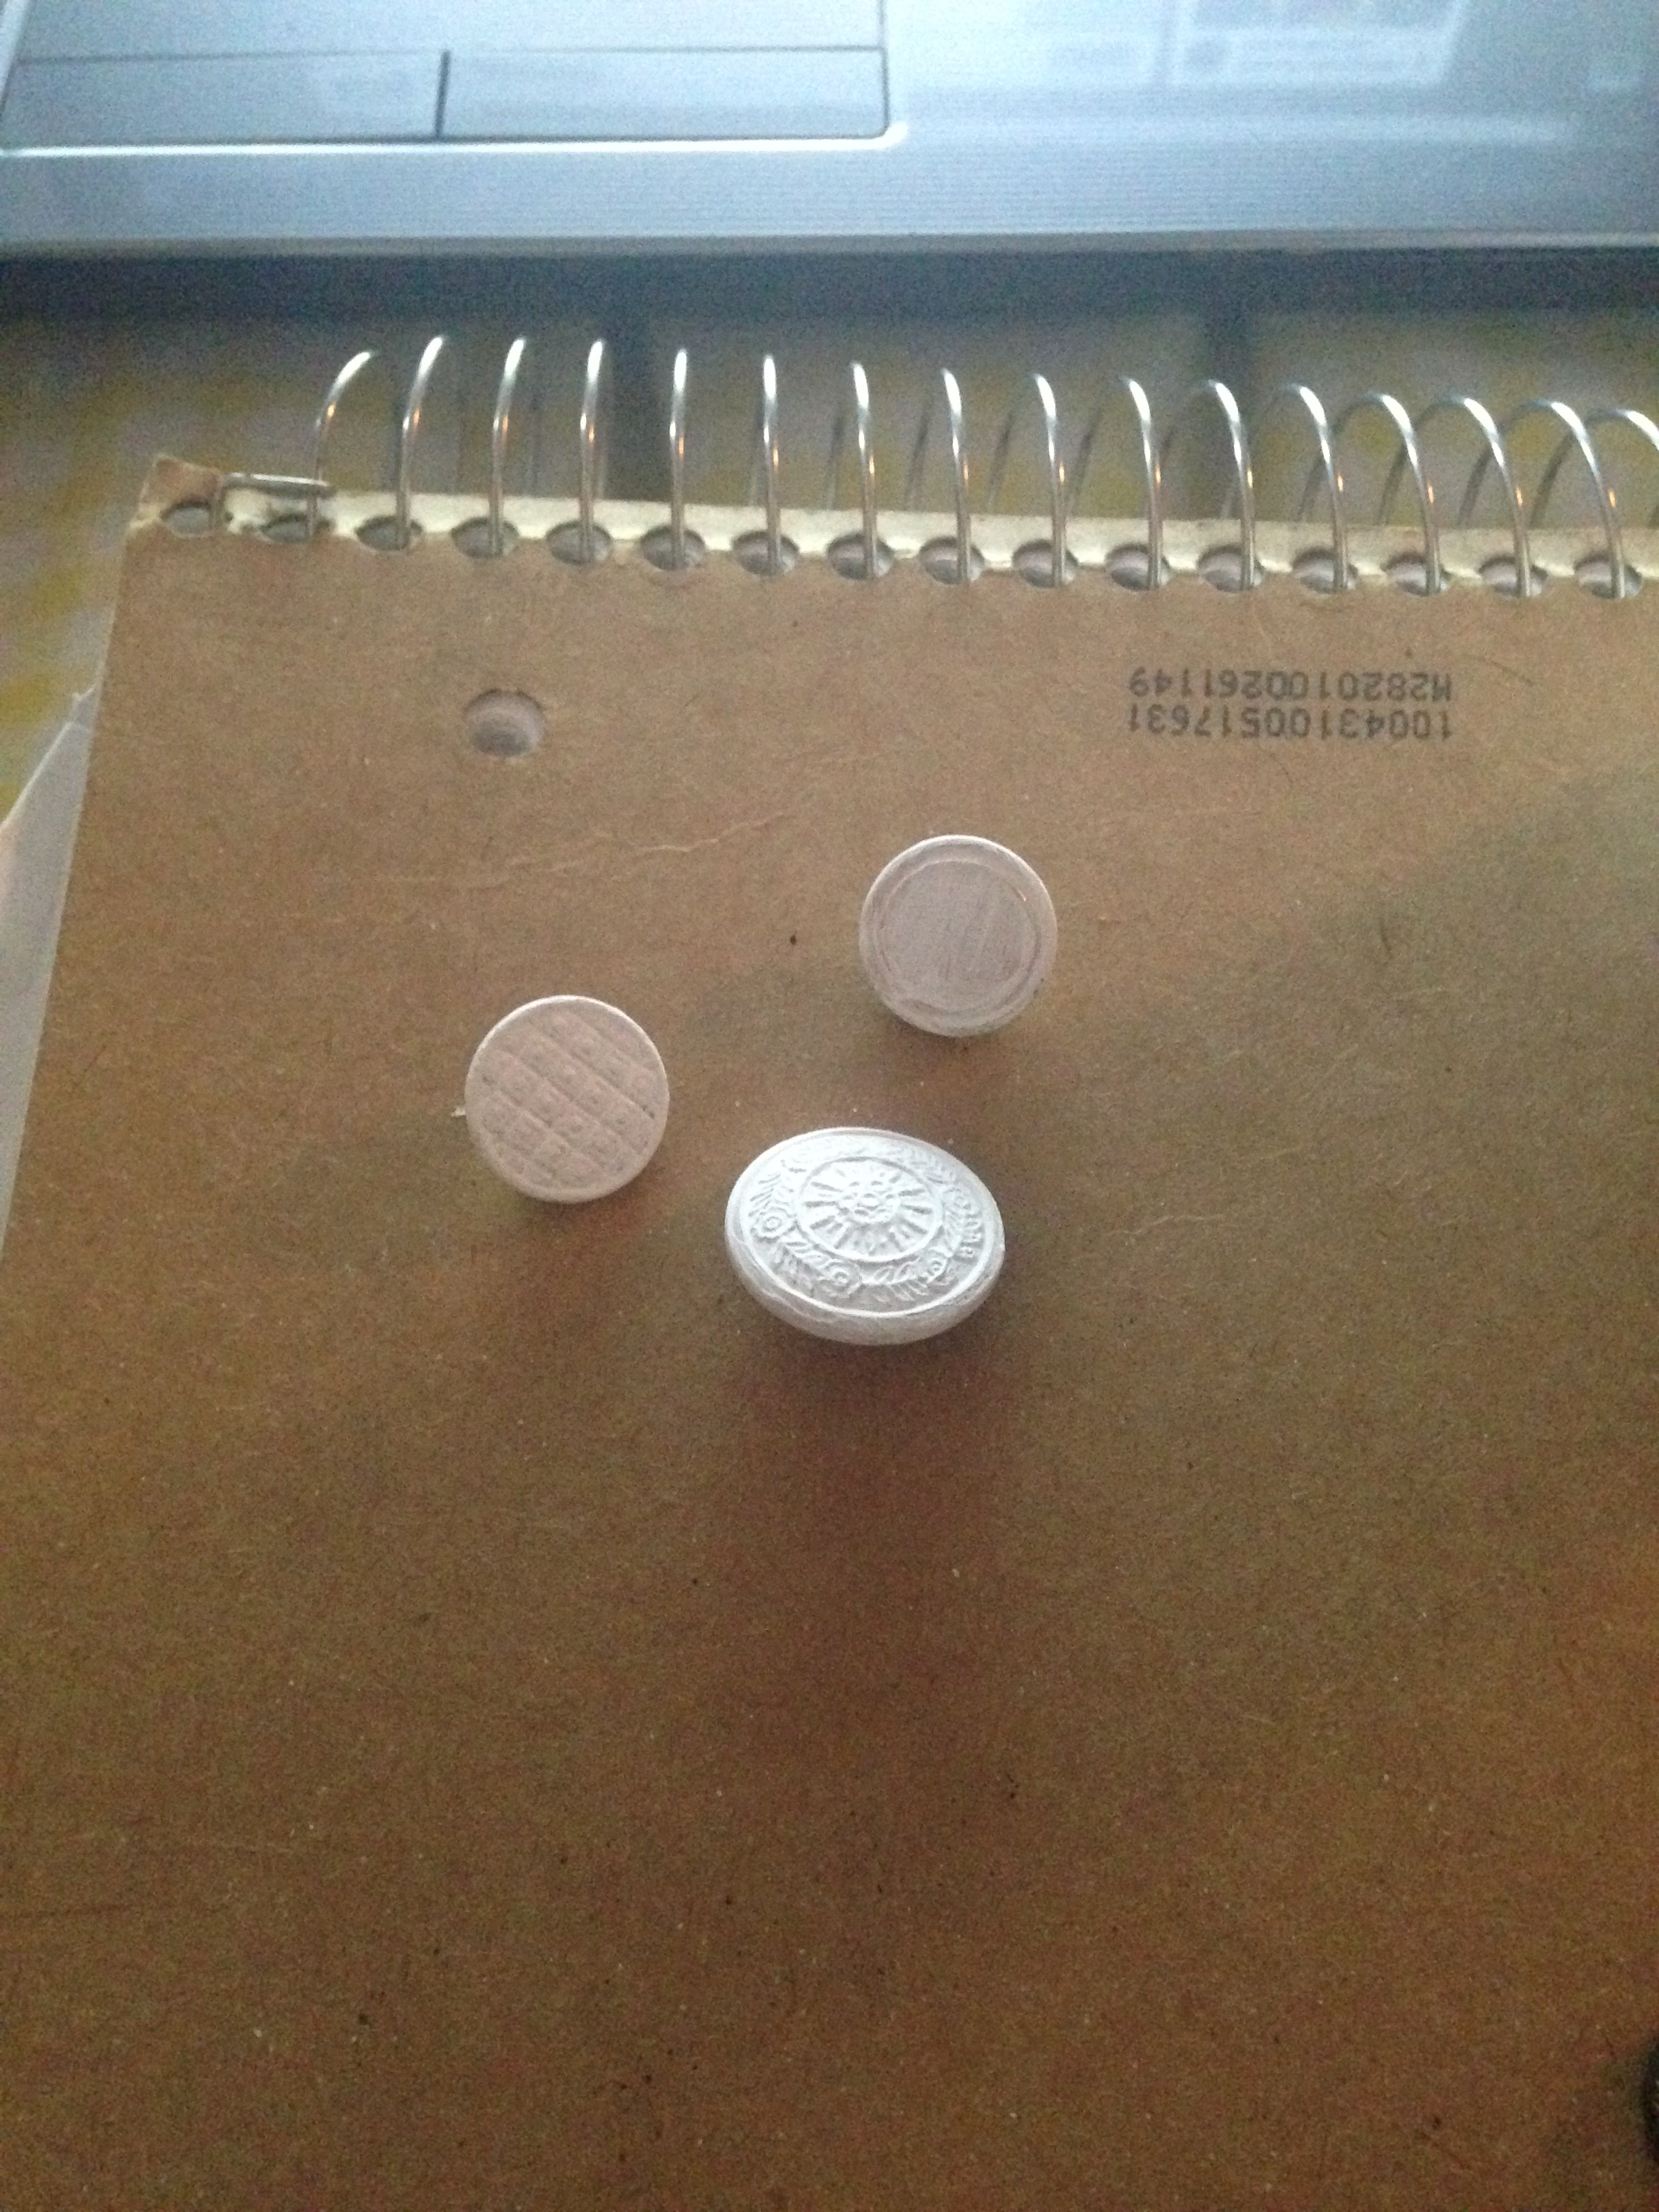
You’ll need thin black ribbon, 2 white shank buttons and an eye/hook clasp.
I didn’t have any white buttons so I just painted mine white with acrylic paint.
Next I measured around my arm where I wanted the band to go, I add an inch to this to make sewing easier.
Thread the button so that it is in the middle of the ribbon, sew it there if it doesn’t stay on its own.
Taking the hook and eye sew them the ends of the ribbon, this is how you will take the band on and off.
Trim the extra ribbon and you’re finished! Now you can wear your armband with pride.
I will hopefully be posting a tutorial for the dress and over shirt next 😀
I’ve taken on a few larger sewing projects, at least they are large for me who is still isn’t at that high of a sewing level. Because of these projects taking longer then I anticipated and schoolwork I’ve been unable to post very often. But here I am!
This post will be a little more like a tutorial than some of my other ones… So lets get started and make a Tinkerbell dress!
First you’ll need to get your fabric and matching thread, for the light green I used an XL knit t-shirt that I found at a thrift shop. For the top the fabric needs to be stretchy, a knit would work great.
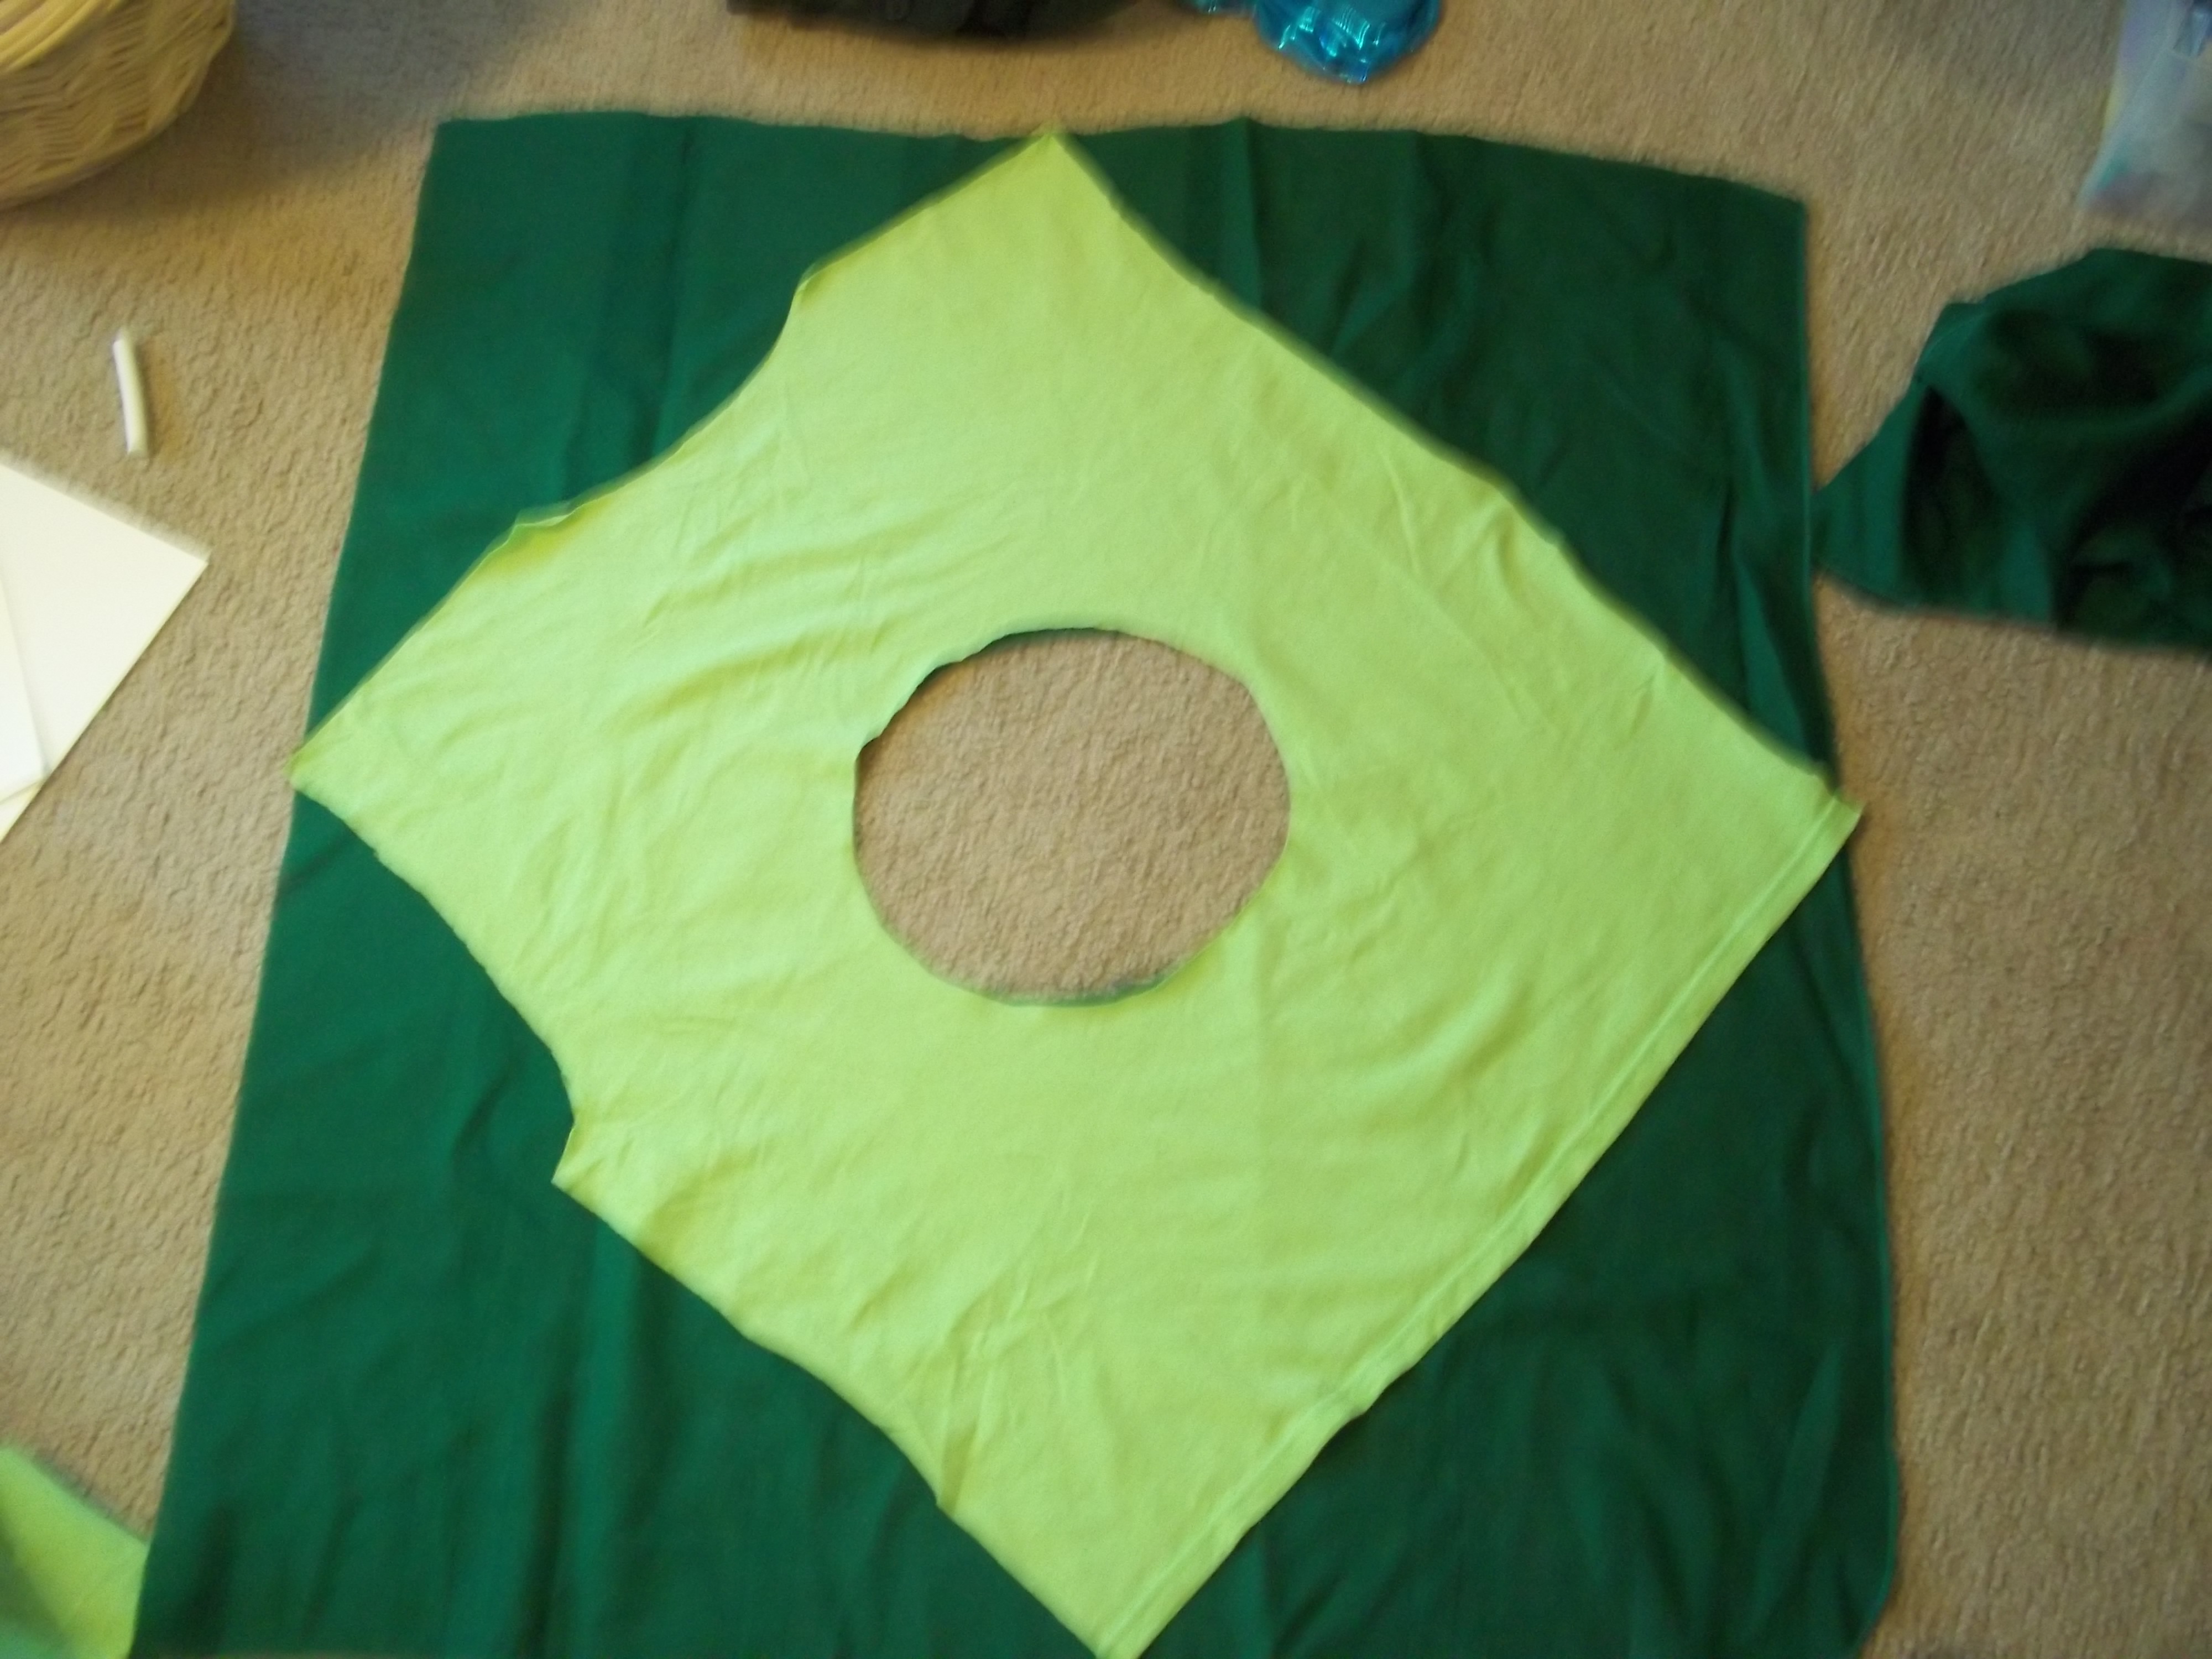
I turned the shirt inside out and cut the back panel off,
this is what it looked like, then I folded this four times and cut a circle skirt out of it, but I did not round the edges. So basically in the end I had a square with a circle cut out of the middle.
I didn’t worry about trimming it to make all the sides even, if you’re using normal fabric just cut a square circle skirt out of that.
Because I didn’t have enough fabric from the t-shirt to make a skirt long enough I made a longer layer to put underneath this one using dark green fabric that I had lying around.
Once you’ve finished cutting the skirts out lay them on top of each other and pin them together, right side of the dark green to wrong side of the light green. You don’t have to do two layers it just depends on how much fabric you have and how long you want your skirt. Sew the two layers together. After doing this sew a thin band of elastic into the waistband of the skirt, this isn’t necessary but I like how it turned out with the elastic.
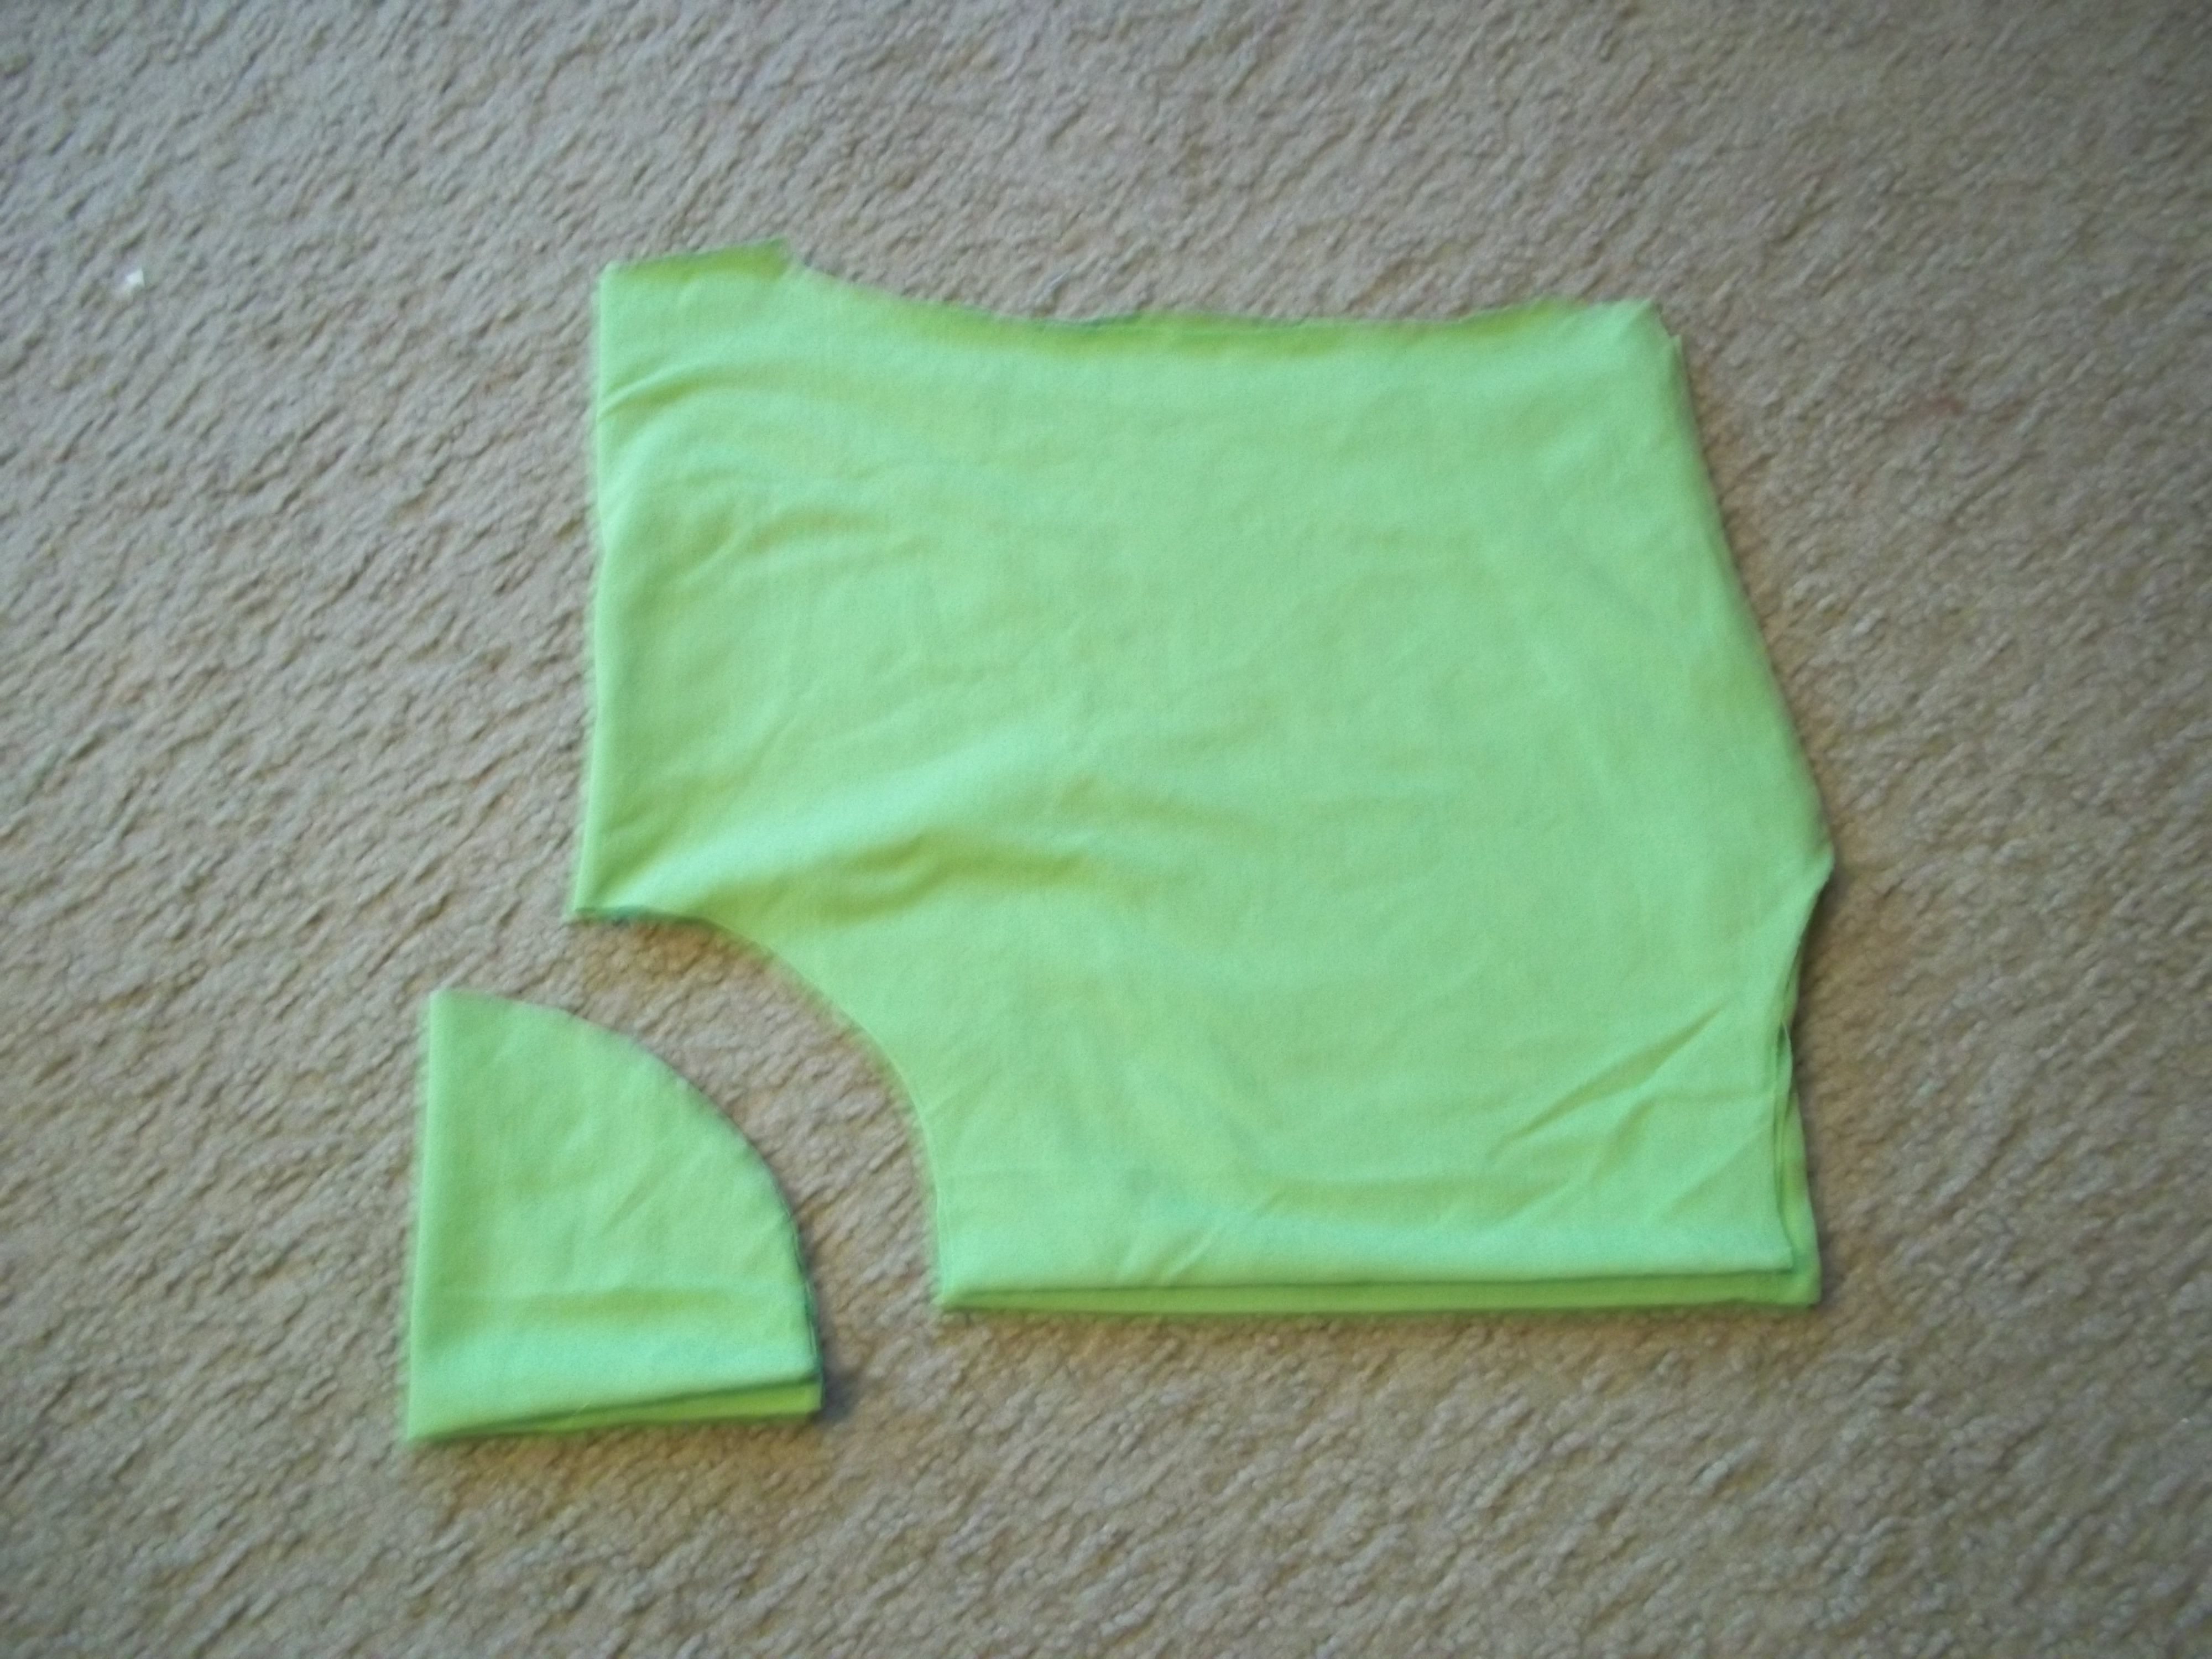
For the top of the dress I made a simple tube top, I used the front panel of the t-shirt to make this.
After cutting the sleeves and the neckline completely off I cut straight across the shirt right under the arm holes to create a rectangle of fabric.
Fold that rectangle in half make sure the stretch is going across the top, not up and down, otherwise you wont be able to get the top on. Sew the side with a straight stitch. I used the bottom hem of the t-shirt as the top hem for my tube top.
Now we’re going to attach the top to the skirt, I don’t have any pictures of this stage, I just got so carried away pinning and sewing I forgot!
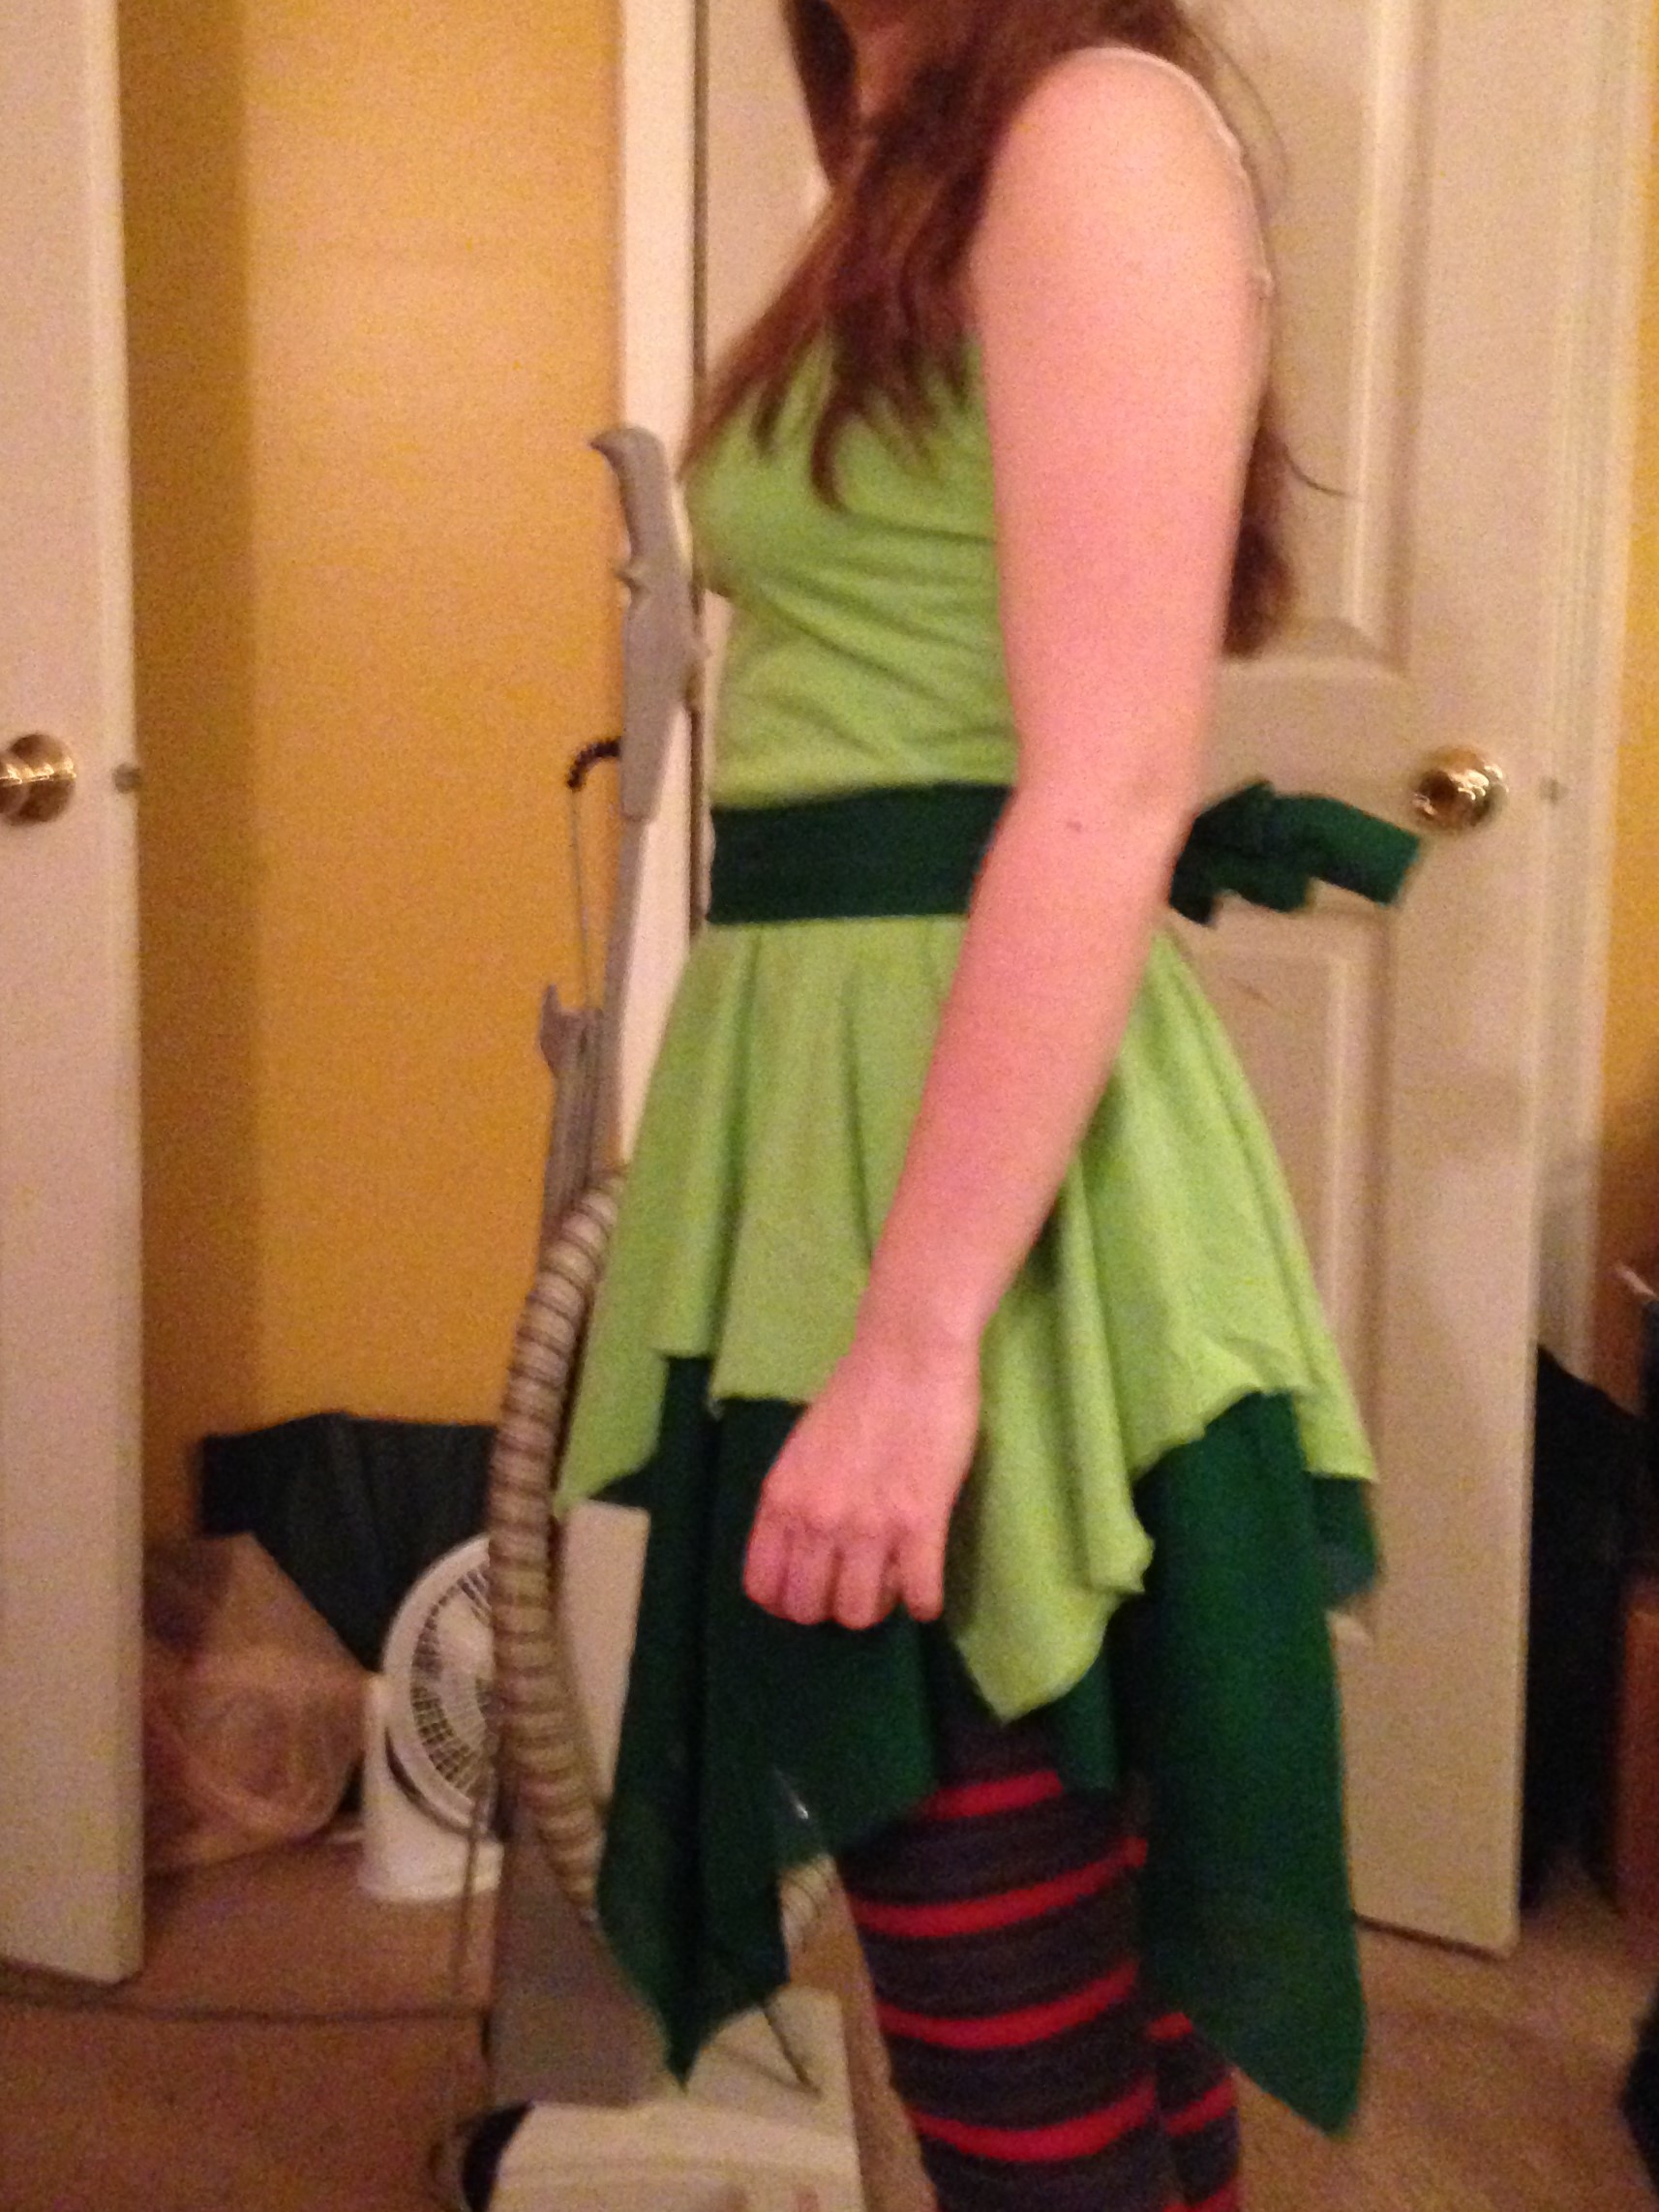
With the skirt right side out you’re going to pin the top all the way around the opening of the skirt, right sides together. So when you turn the dress right side out you won’t see any seems. Make sure that the seems from sewing the elastic and two skirt pieces together can not be seen. Sew all the way around the area you pinned, take out any pins and add straps the the top if you wish! Voila! You have your very own handmade Tinkerbell Dress!
I added a sash made from the dark green fabric to my dress but that is completely up to add that!
(Tinkerbell hair tutorial- http://pekmarifetli.com/balerin-topuzuuu )
My wonderful bow tying skills LOL
“Laughter is timeless, imagination has no age, Dreams are forever.” -Tinkerbell
I have finally finished my costume horns! They’re all painted and everything!
First I painted them brown with acrylic paint, I didn’t do anything to the foam before painting.
After the coat of brown was dry I went back and dry brushed metallic bronze on the tips of the horn spike things to add depth and interest to the horns.
Lastly, so that I could actually wear the horns I hot glued on some clips, and voila!
Depending on how I wear them I may need to add another clip or bobby pin to the base so the horns are more secure but overall I am very pleased with how these turned out!
So for a while now I’ve wanted to make a Rapunzel costume, but I wouldn’t have anywhere to wear it so instead I’m going to attempt to make a “modern day” Rapunzel costume! All I’ve completed so far is her tiara, it’s not overly fancy, just wire, but I am happy with it!
I started with drawing the pattern out on a piece of paper in the size I wanted the tiara to be, I don’t have any pictures of that though. I then bent the wire into the correct shapes and laid them out.
Using a thinner wire that was easy to bend I connected the pieces together by wrapping the thin wire around both pieces.
(Sorry the picture is a little blurry.) After connecting all the pieces together I made a headband out of the thick wire and attached the crown piece to that using the same way as before.
Because I’m on Pinterest a lot I see tons of tutorials on how to make just about everything…
Last week I saw one about horns and I thought ‘who doesn’t need a pair of clip on horns..?’
I’ve only done one so far, I don’t have enough craft foam to do the other one yet. They’re super easy to make, just cut out the foam then sew the pieces together. I’m going to paint these but I’ll do that once I’ve made the other horn.