Princess Mononoke Costume- Fang Necklace

The wolf fang necklace is next!


San Necklace


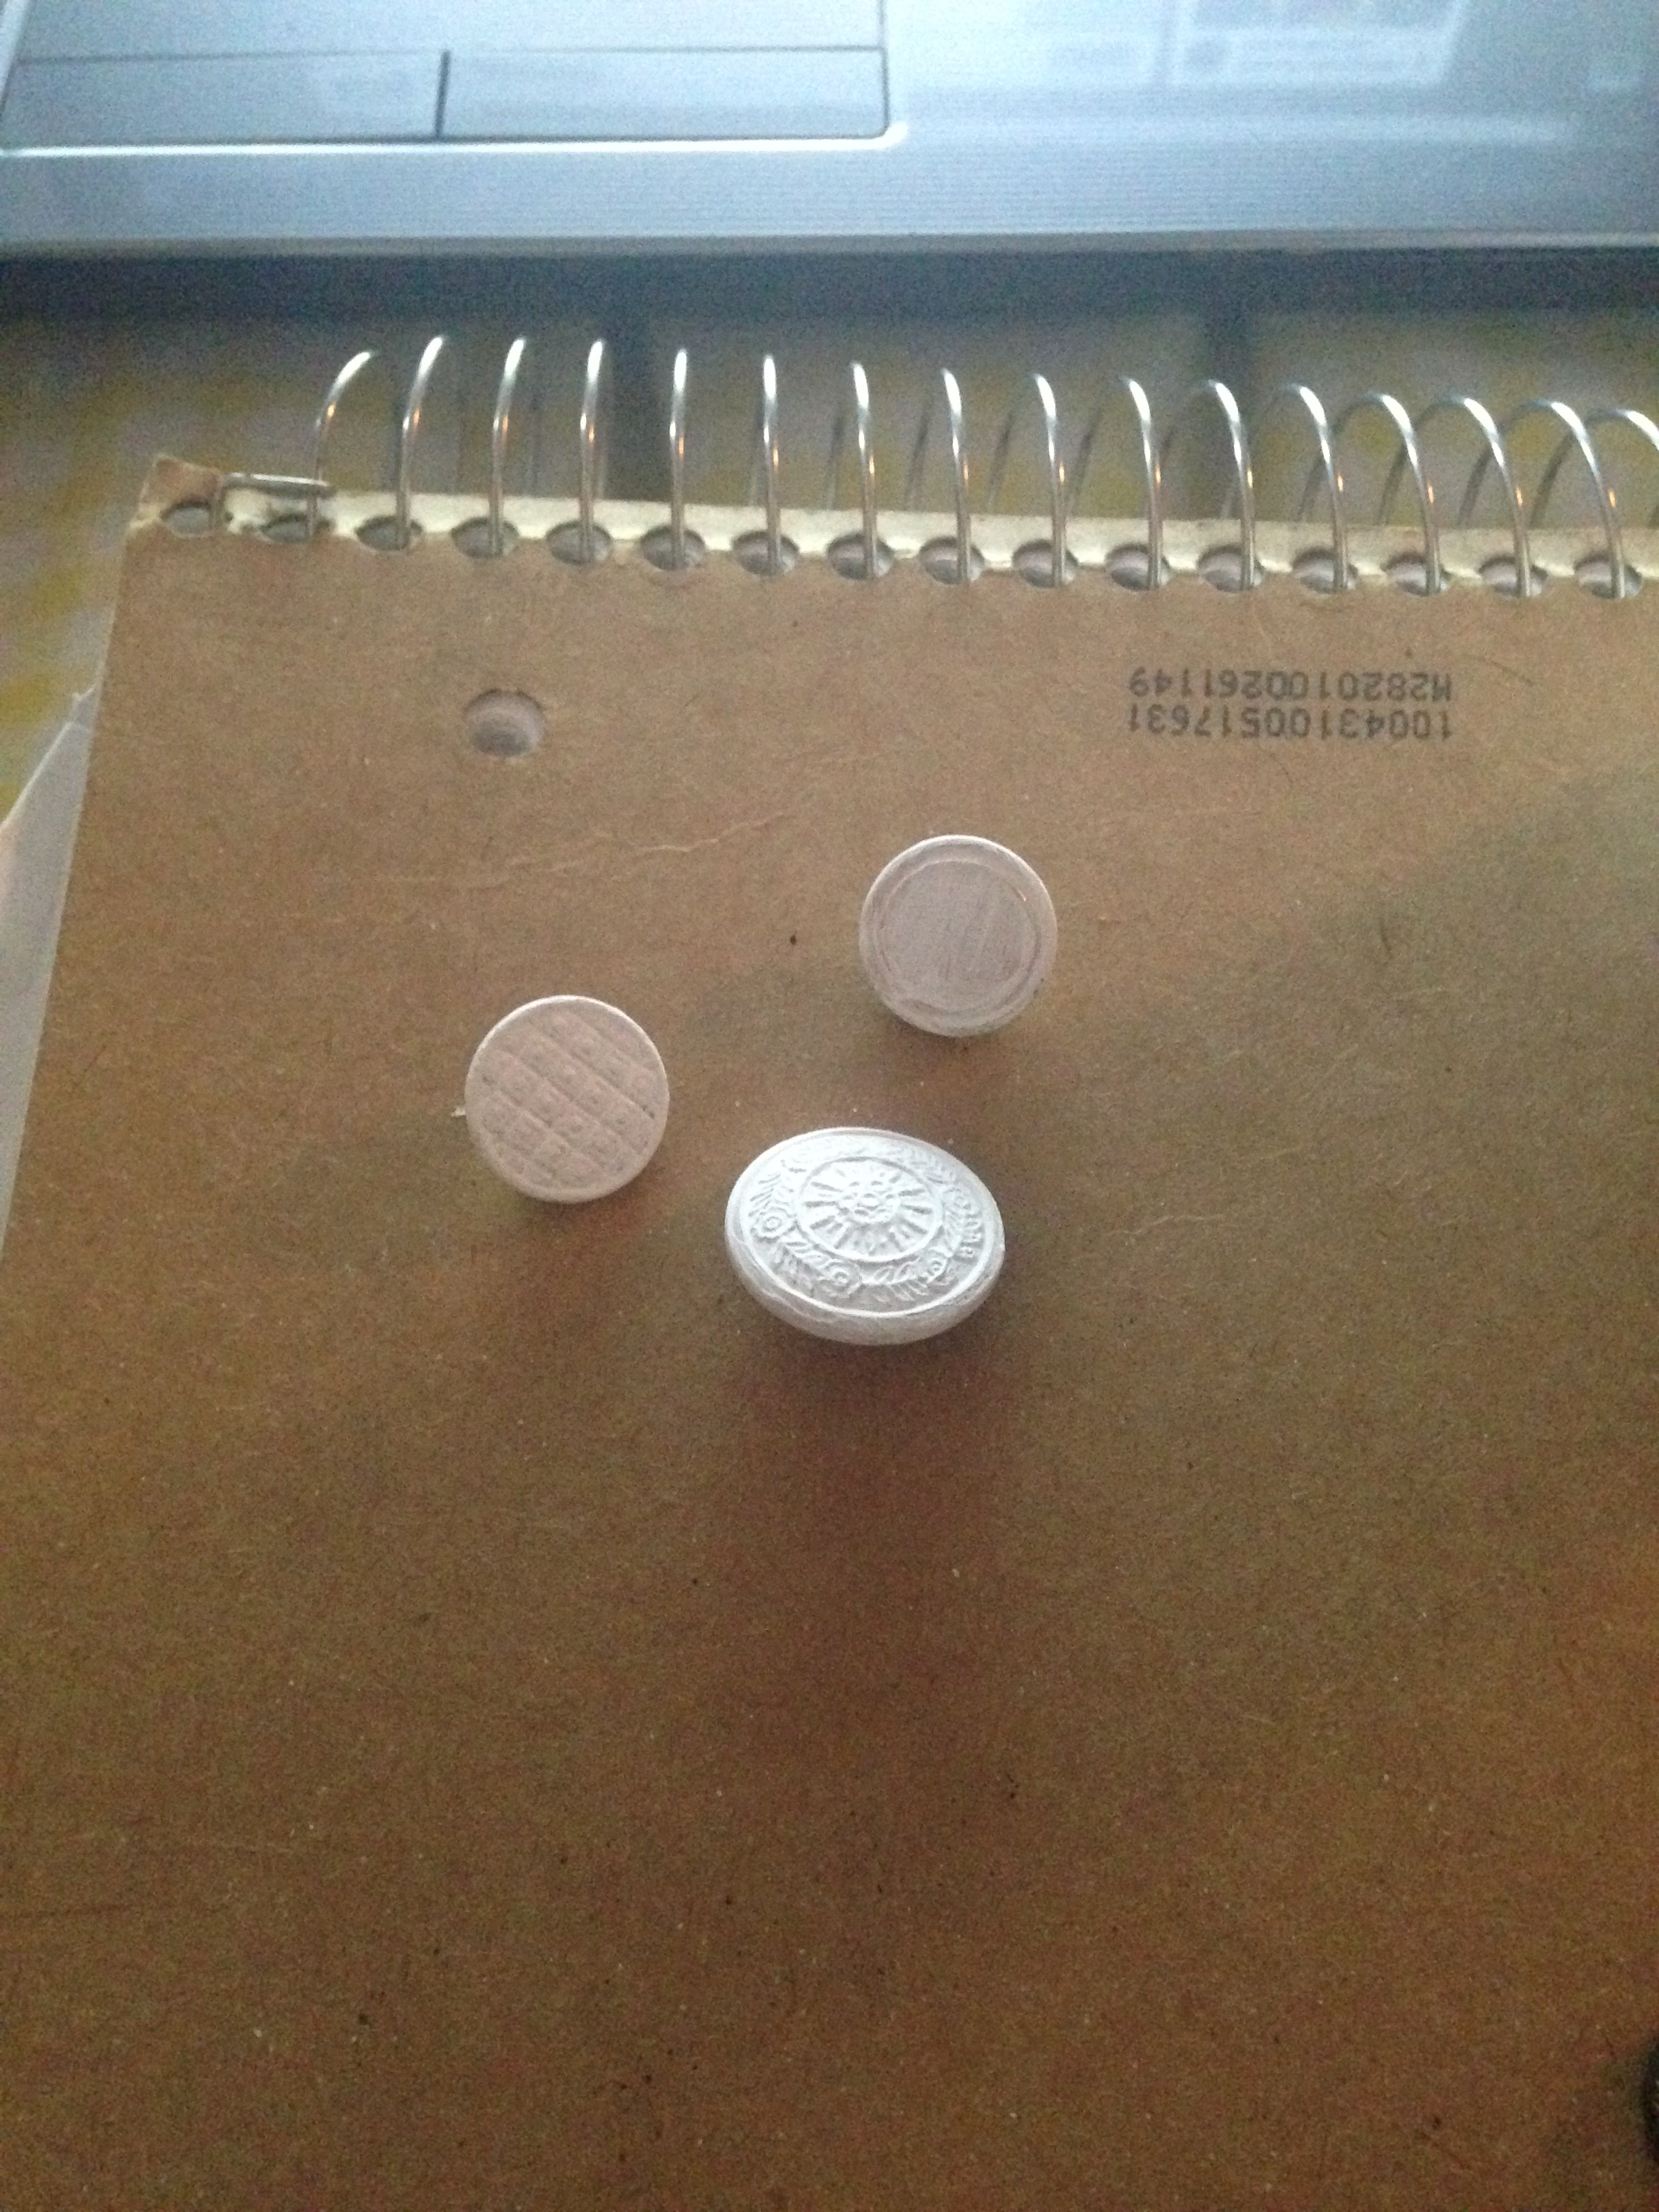
 I used air dry clay to make the fangs.

San Necklace (1)San Necklace 1 (4)
Not dry                                                                          Dry   

I used a thicker wire to make holes in the top of the fangs to thread them onto the necklace.

My holes were on the smaller side and if I were to do this again I would make them bigger…

After the clay is completely dried, or if you used oven baked clay (which is fine) gather together all your beads and whatever thread you want to use, I was going to use a thicker black cord but the holes in the fangs were not large enough so I ended up using dark purple embroidery floss. Note that whatever you use I plan on attaching the necklace to the fur cape so there is no need to add a clasp or to tie the thread together at the ends.
San Necklace 1 (1)
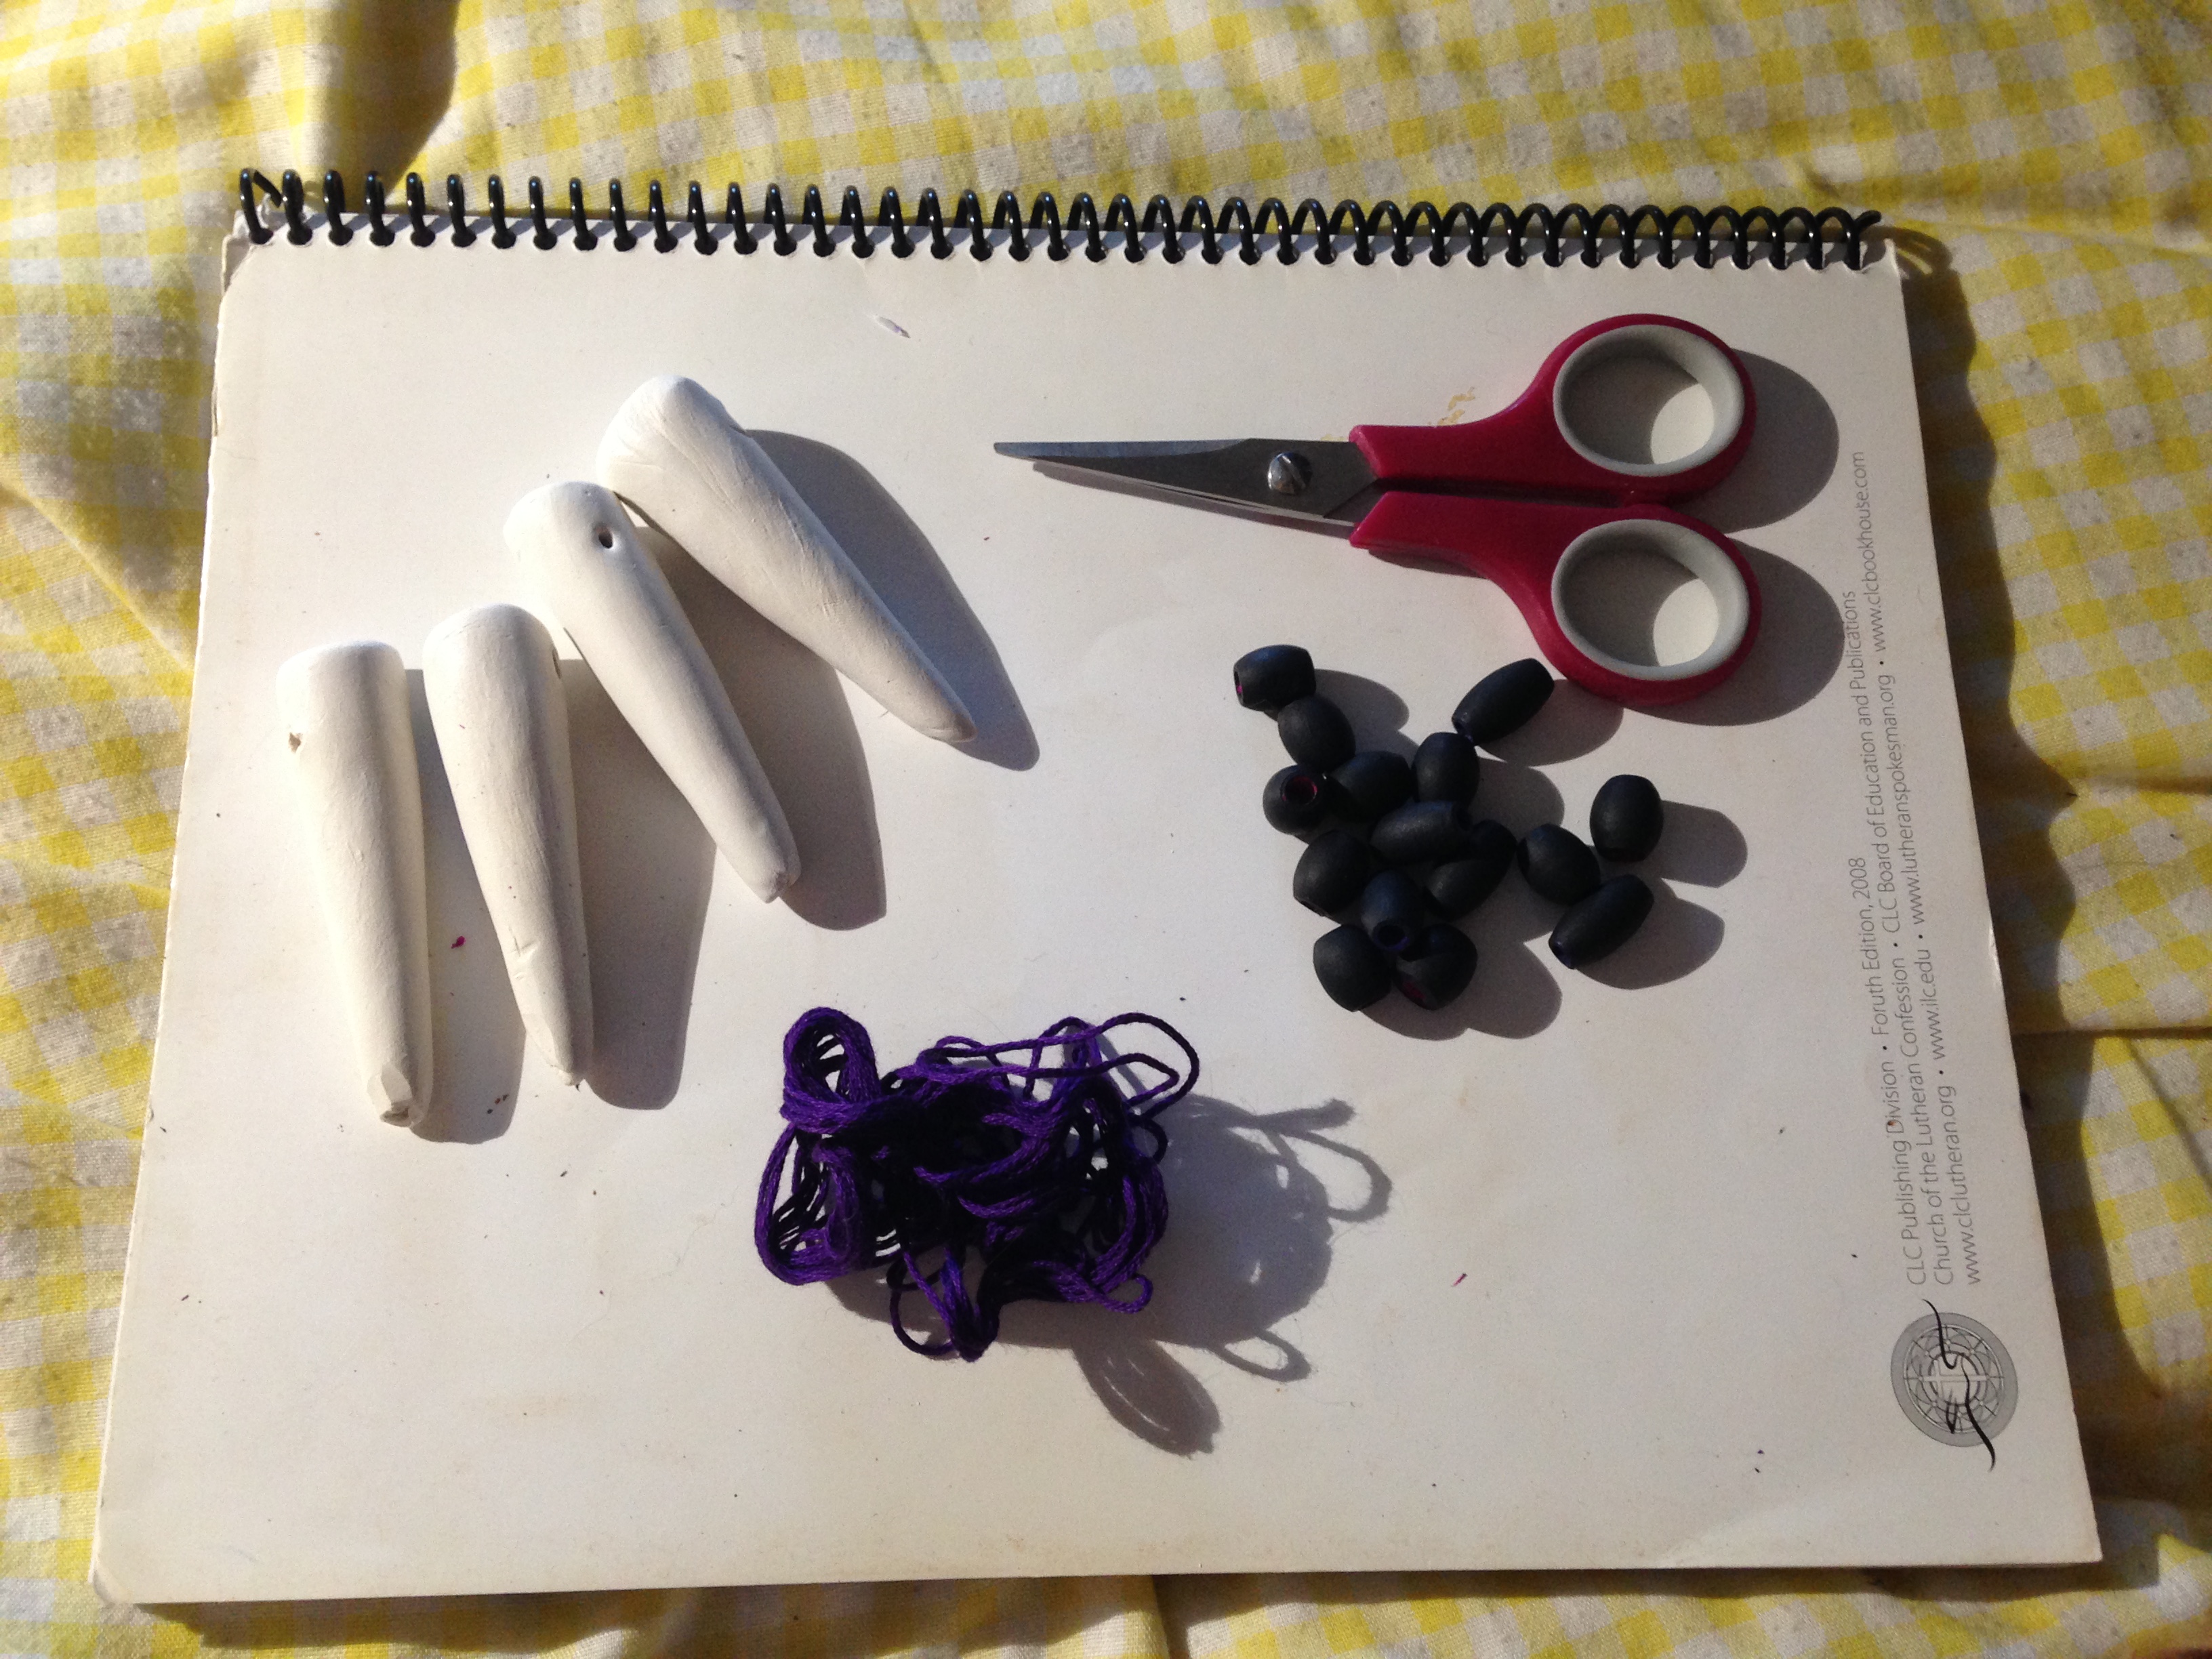
For the beads that go in between the fangs if you have long beads those would be great, I just had shorter ones so I added round beads on either end of the short longer one…
San Necklace 1 (2)
This is what it looked like all strung on!
Next I hope to do either the blue dress or the fur cape, we’ll see!

Princess Mononoke Costume- Armband

For the next week or so my project is to make a San from Studie Ghibli’s Princess Mononoke” cosplay. So my blog posts will be the process of that.
Mononoke 2 Armband


 This post is making her armbands.
You’ll need thin black ribbon, 2 white shank buttons and an eye/hook clasp.

    San armband (5)
I didn’t have any white buttons so I just painted mine white with acrylic paint.
Next I measured around my arm where I wanted the band to go, I add an inch to this to make sewing easier.
San armband (6)
Thread the button so that it is in the middle of the ribbon, sew it there if it doesn’t stay on its own.
San armband (1)San armband (3)
Taking the hook and eye sew them the ends of the ribbon, this is how you will take the band on and off.
Trim the extra ribbon and you’re finished! Now you can wear your armband with pride.
I will hopefully be posting a tutorial for the dress and over shirt next 😀

Flower Bobby Pins

Because being able to adorn braids and hairdo’s with flowers is a must… Right?


  Flower bobby pins (8)Flower bobby pins (5)

To make these gather your materials-

  • fake flowers, whatever size/color you want.
  • bobby pins
  • hot glue/hot glue gun

Flower bobby pins (6)

Put a small glob of glue onto the end of the bobby pin and press the bottom of the flower onto it.
Flower bobby pins (7)
That’s all there is to it for the small flowers! I ended up painting these little blue ones black.
I also made some larger ones as well, using the same method of gluing the bobby pins on,
but with the large flowers I attached the bobby pins off center because the little stem thingies were in the way.
Flower bobby pins (2) Flower bobby pins (1)
For medium sized flower pins I actually put the stem thing in the bobby pin and glued it on that way.
Flower bobby pins (4) Flower bobby pins (5)

Now you can go rock flowery hair!

Costume Horns (Finished)

I have finally finished my costume horns! They’re all painted and everything!

Costume Horn (1)
First I painted them brown with acrylic paint, I didn’t do anything to the foam before painting.

Costume Horn (2)
After the coat of brown was dry I went back and dry brushed metallic bronze on the tips of the horn spike things to add depth and interest to the horns.
Untitled design
Lastly, so that I could actually wear the horns I hot glued on some clips, and voila!
Costume Horns
Depending on how I wear them I may need to add another clip or bobby pin to the base so the horns are more secure but overall I am very pleased with how these turned out!

Wire Rapunzel Tiara

So for a while now I’ve wanted to make a Rapunzel costume, but I wouldn’t have anywhere to wear it so instead I’m going to attempt to make a “modern day” Rapunzel costume!  All I’ve completed so far is her tiara, it’s not overly fancy, just wire, but I am happy with it!

IMG_1417
I started with drawing the pattern out on a piece of paper in the size I wanted the tiara to be, I don’t have any pictures of that though. I then bent the wire into the correct shapes and laid them out.
IMG_1418
Using a thinner wire that was easy to bend I connected the pieces together by wrapping the thin wire around both pieces.
IMG_1422 (2)
(Sorry the picture is a little blurry.) After connecting all the pieces together I made a headband out of the thick wire and attached  the crown piece to that using the same way as before.

61f33ee47cf2c9f8b0d77729932b4c64
This is what the tiara in the movie looks like.

Metallic Dinosaurs

Gold Dinosaurs
 SPARKLY DINOSAURS!!!!!!
Everyone needs some sparkly metallic gold/bronze/silver dinosaurs… Right?
Well I did.  These only took a few minutes to make, it is super easy!  These dinosaurs are actually mini ones, not full sized unfortunately. Before being painted, these were just toy dinos that did not sparkle.  But AFTER painting, they became magnificent beasts, ready to decorate wherever you see fit.  Starting with a base coat of white acrylic paints makes painting on the metallic paint so much easier, I definitely would recommend that be done first; then whatever colors you like after the white! They don’t even have to be sparkly (but why would you not want sparkly dinos?). Any acrylic paint would do!  You could even try mixing in a little glitter into the paint… EXTRA SPARKLE!

Costume Horns

Because I’m on Pinterest a lot I see tons of tutorials on how to make just about everything…
Last week I saw one about horns and I thought ‘who doesn’t need a pair of clip on horns..?’

Horns

I’ve only done one so far, I don’t have enough craft foam to do the other one yet. They’re super easy to make, just cut out the foam then sew the pieces together. I’m going to paint these but I’ll do that once I’ve made the other horn.

TARDIS Plushie

For last Christmas my friend is a big Doctor Who fan, so I decided to make her a TARDIS.

Sadly, not an actual TARDIS, but this one can be carried around where ever you go!

IMG_2710

Its made out of blue flannel and is very soft and hug-able. I hand-sewed all of it, and embroidered the words, as you can see it is beginning to fray a little around the windows, if I ever make another one I’ll make sure that I do a tiny hem around the openings. My friend loved it and I’ve been told that I should make many more and sell them, which is something I’m thinking about doing.

Its

Crayon Lipstick

I saw on Pinterest a link to making lipstick from Crayola crayons, so I thought I’d give it a try!
I’m not someone who wears lipstick but I thought this would be handy for cosplays or Halloween.

I using a whole crayon and 3/4tsp of coconut oil, putting these things together and melting them (I used a metal measuring cup and a candle) you can make any color lipstick!

IMG_1279

In total I made five different colors; Black, Red, Purple, Blue, and Green.

IMG_1280